
Lesson 78: Processing Administrator Payment Status Updates and Beginning Payment Verification

Overview
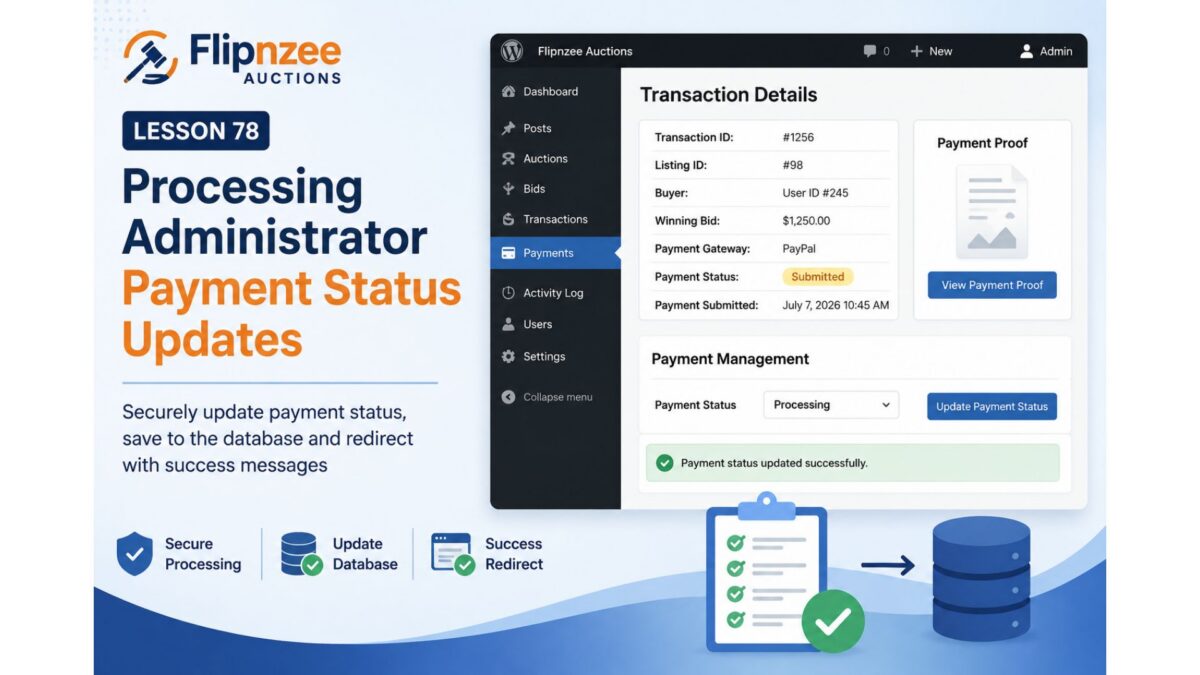
In the previous lesson, a dedicated Administrator Payments Dashboard was introduced, allowing administrators to view submitted buyer payments, inspect transaction details, and access a payment management interface.
However, the interface was still informational. Although administrators could select a payment status from a dropdown, those changes were not yet saved to the database.
In this lesson, we will connect the user interface to the backend by implementing secure form processing and updating payment records.
Objectives
By the end of this lesson, we will:
- Register a secure administrator POST action.
- Process payment status update requests.
- Verify administrator permissions.
- Validate WordPress nonces.
- Update the
payment_statusfield in the database. - Redirect administrators with success messages.
- Prepare the payment verification workflow for future approval actions.
Why This Lesson Is Important
Until now, administrators could only view payment information.
This lesson transforms the payment dashboard into a working management system by allowing administrators to update payment progress after reviewing submitted payment proofs.
Current Workflow
Current administrator workflow:
Buyer Uploads Payment Proof
            │
            ▼
Payment Appears in Dashboard
            │
            ▼
Administrator Opens Details
            │
            ▼
Select Payment Status
            │
            ▼
Nothing Happens ❌
Desired Workflow
After this lesson:
Buyer Uploads Payment Proof
            │
            ▼
Payment Appears in Dashboard
            │
            ▼
Administrator Opens Details
            │
            ▼
Select Payment Status
            │
            ▼
Click Update
            │
            ▼
Database Updated
            │
            ▼
Success Message Displayed
Planned Implementation
1. Register the Admin POST Action
The payment management form already submits to WordPress using admin-post.php.
This lesson will register a dedicated action handler for processing payment updates.
2. Verify Administrator Permissions
Before processing any request, the plugin will confirm that the current user has sufficient privileges.
Only administrators should be allowed to modify payment records.
3. Verify the Nonce
Every request will validate the security nonce before updating the database.
This protects against Cross-Site Request Forgery (CSRF) attacks.
4. Validate Submitted Data
Incoming data will be sanitized and validated before use.
Examples include:
- Transaction ID
- Payment Status
This ensures only expected values are processed.
5. Update the Database
The selected payment status will be written to the payment_status column of the transaction table.
Typical status transitions include:
- Pending
- Processing
- Paid
- Completed
- Cancelled
- Refunded
6. Redirect Back to the Transaction
After processing, administrators will be redirected back to the Transaction Details page instead of the generic transactions list.
This provides a smoother workflow.
7. Display Success Notices
Administrators should immediately know whether the update succeeded.
Examples include:
Payment status updated successfully.
or
Unable to update payment status.
8. Prepare for Payment Approval
Although this lesson focuses on updating payment statuses, the implementation prepares the foundation for future verification actions.
Upcoming lessons will introduce dedicated buttons such as:
- Approve Payment
- Reject Payment
- Request New Payment Proof
Database Changes
This lesson will primarily update the following transaction field:
payment_status
Possible values include:
- pending
- submitted
- processing
- paid
- completed
- cancelled
- refunded
Future lessons may introduce additional verification-specific statuses if needed.
Security Considerations
The payment verification process will follow standard WordPress security practices:
- Capability checks
- Nonce verification
- Data sanitization
- Safe database updates
- Secure redirects
Expected Outcome
After completing this lesson:
- Administrators can update payment status.
- Database records are updated securely.
- Transaction details immediately reflect the latest payment state.
- Payment management becomes fully functional.
- The administrator workflow becomes suitable for production use.
What You Will Learn
During this lesson, you will learn how to:
- Process administrator forms using
admin-post.php. - Secure backend form submissions.
- Update custom database tables.
- Redirect users after successful processing.
- Separate payment management from transaction management.
Looking Ahead
Once payment status updates are working, the Flipnzee Auctions plugin will be ready for the next stage of payment verification.
Next Lesson Preview
Lesson 79: Reviewing Uploaded Payment Proofs and Approving Buyer Payments
In the next lesson, we will enhance the administrator experience by allowing payment proofs to be viewed directly from the Transaction Details page. Administrators will be able to inspect uploaded receipts, preview images or PDFs, and approve or reject payments before initiating the website ownership transfer process.
This will bring Flipnzee one step closer to a complete end-to-end marketplace workflow and lay the groundwork for integrating Escrow.com as the preferred payment gateway for live auctions.