
Lesson 116 – Designing a State-Driven Buyer Payment Workflow

Introduction
In the previous lesson, the Buy Now workflow became fully functional. When a buyer purchases a website, the auction is closed, a winner is declared, a transaction is created, an external provider record is initialized, and a transfer record is prepared. Finally, the buyer is redirected to the payment page.
Although the backend workflow is now complete, the payment page itself still behaves like a prototype. Every payment option is displayed, buttons remain visible regardless of transaction status, and the interface does not yet guide buyers through the payment process.
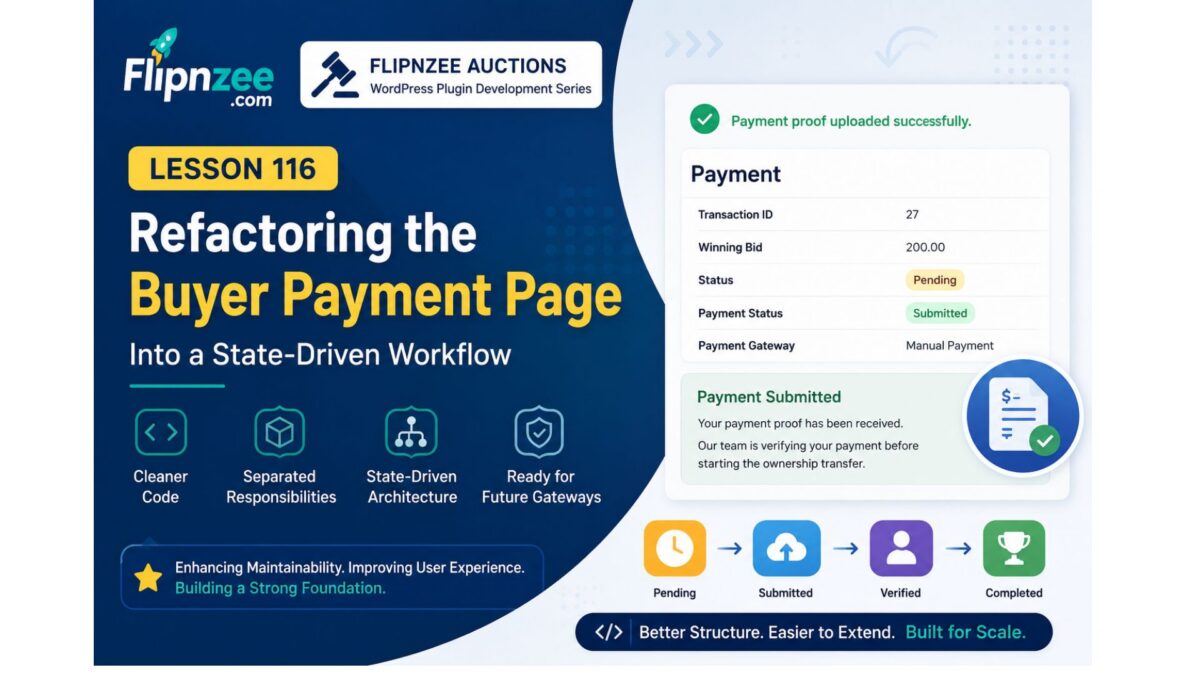
In this lesson, the focus shifts from backend infrastructure to user experience. Rather than treating the payment page as a static form, it will evolve into a workflow that changes based on the current state of the transaction.
Why this lesson is important
A payment page should answer one simple question:
“What should the buyer do next?”
Instead of always displaying the same controls, the interface should respond to the transaction’s current status.
For example:
- Before payment, buyers should choose a payment method.
- After payment submission, buyers should see confirmation instead of payment options.
- Once payment is verified, they should see transfer progress.
- After transfer completion, they should receive ownership confirmation.
This creates a guided experience instead of presenting every possible action at once.
Current Workflow
Listing
        │
        ▼
Place Bid / Buy Now
        │
        ▼
Auction Closed
        │
        ▼
Winner Determined
        │
        ▼
Transaction Created
        │
        ▼
External Provider Created
        │
        ▼
Transfer Record Created
        │
        ▼
Buyer Payment Page
The backend now reaches the payment page successfully.
Proposed Workflow
Instead of one static page:
Pending Payment
        │
        ▼
Select Payment Method
        │
        ▼
Manual Payment Instructions
        │
        ▼
Upload Proof
        │
        ▼
Payment Submitted
        │
        ▼
Admin Verification
        │
        ▼
Payment Verified
        │
        ▼
Transfer Started
        │
        ▼
Ownership Delivered
Each state presents only the actions that are relevant at that moment.
Planned UI States
State 1 — Pending Payment
Display:
- Transaction summary
- Winning bid
- Payment methods
- Continue to Payment
State 2 — Manual Payment
Display:
- Bank details
- Payment instructions
- Upload payment proof
Hide all unnecessary payment options.
State 3 — Payment Submitted
Display:
✔ Payment Submitted

Our team has received your payment proof.

Status:
Awaiting Verification
No payment buttons should remain visible.
State 4 — Payment Verified
Display:
✔ Payment Verified

Preparing ownership transfer...
Show transfer progress instead of payment controls.
State 5 — Transfer Complete
Display:
✔ Congratulations!

The website has been transferred successfully.
Offer download links or ownership instructions if applicable.
Why State-Driven Interfaces Matter
Large marketplaces rarely present every possible action simultaneously.
Instead, the interface adapts according to the transaction.
Benefits include:
- Less confusion
- Cleaner interface
- Better user guidance
- Reduced accidental actions
- Easier maintenance
- Simpler future payment gateway integration
Lesson Objectives
By the end of this lesson, readers will understand:
- Why payment pages should be workflow-driven
- How transaction status determines the interface
- How payment and transfer states relate
- Why state-driven design scales better as new gateways are added
Looking Ahead
The backend payment architecture is now in place. Future lessons will focus on polishing the buyer experience by hiding irrelevant controls, presenting clear payment instructions, and progressively revealing the next action as the transaction advances through its lifecycle.
Previous Lesson: Lesson 115 – Completing the Buy Now Transaction Pipeline and External Provider Integration
Next Lesson: Lesson 116 Implementation – Building a State-Driven Buyer Payment Interface