How to Back Up a WordPress Website for Free Using WPvivid and Google Drive

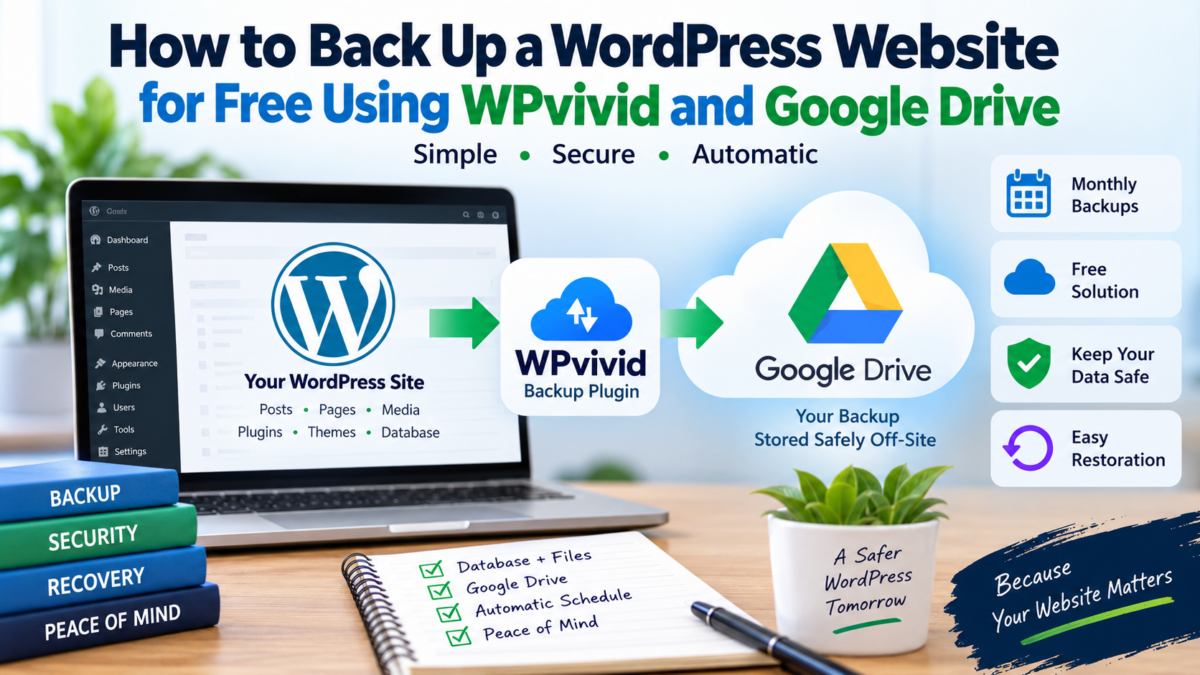
A WordPress website can represent months or even years of work. Posts, pages, images, plugins, themes, settings, and database records can all be lost if something goes wrong with the hosting server.
Fortunately, you don’t necessarily need to pay for a separate backup service.
In this guide, we’ll set up a free WordPress backup system using WPvivid Backup Plugin and Google Drive. The setup is simple enough for a small business website, blog, portfolio site, or WordPress-based marketplace.
I recently used this approach to set up a backup system for a WordPress website, and the complete process was straightforward: create a full backup, connect Google Drive, test an off-site backup, and then schedule automatic monthly backups.
Why You Should Keep an Off-Site Backup
Many WordPress hosting companies provide some form of backup. However, relying exclusively on a backup stored on the same hosting server isn’t ideal.
Imagine that your website and its backup are both stored on the same server. If there is a serious server failure or you lose access to the hosting account, the backup may not be available when you need it.
This is why an off-site backup is useful.
Instead of keeping the only backup here:
WordPress website → Hosting server
we can have:
WordPress website → Hosting server + Google Drive
The second copy is stored separately from the website.
WPvivid’s documentation specifically recommends remote storage for additional protection against server failures and hosting problems. (WPvivid Documentation)
What We Will Use
For this setup, we need:
- A WordPress website
- The free version of WPvivid Backup & Migration
- A Google account with Google Drive
- A few minutes to configure the backup
You can find WPvivid in the official WordPress plugin directory:
WPvivid Backup & Migration on WordPress.org
WPvivid’s free version supports manual backups, scheduled backups, remote storage and restoration. Its supported remote storage options include Google Drive, Dropbox, OneDrive, Amazon S3 and FTP/SFTP. (WPvivid Documentation)
Step 1: Install WPvivid
From your WordPress dashboard, go to:
Plugins → Add New
Search for:
WPvivid Backup & Migration
Install and activate the plugin.
After activation, you should see WPvivid Backup in your WordPress dashboard.
Step 2: Create Your First Full Backup
Before configuring automatic backups, I recommend creating a manual backup.
Open:
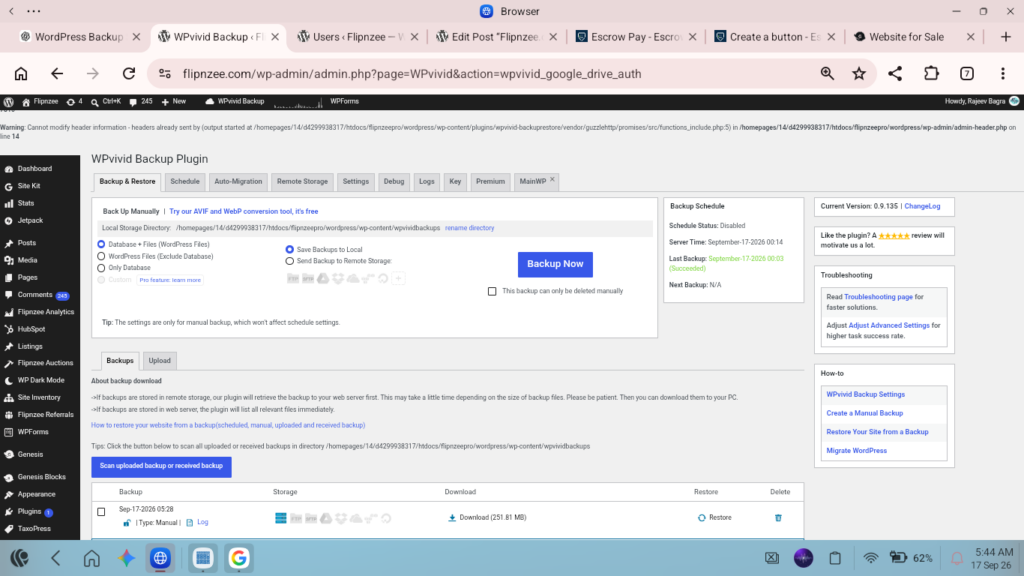
WPvivid Backup → Backup & Restore
Choose:
Database + Files (WordPress Files)
This is a full backup.
A full WordPress backup includes both the database and website files. The database contains important information such as posts, pages, users and plugin settings, while the files include themes, plugins and uploaded media. (WPvivid Documentation)
For a business website or marketplace, I would generally choose the full Database + Files option rather than backing up only the database.
Then click:
Backup Now
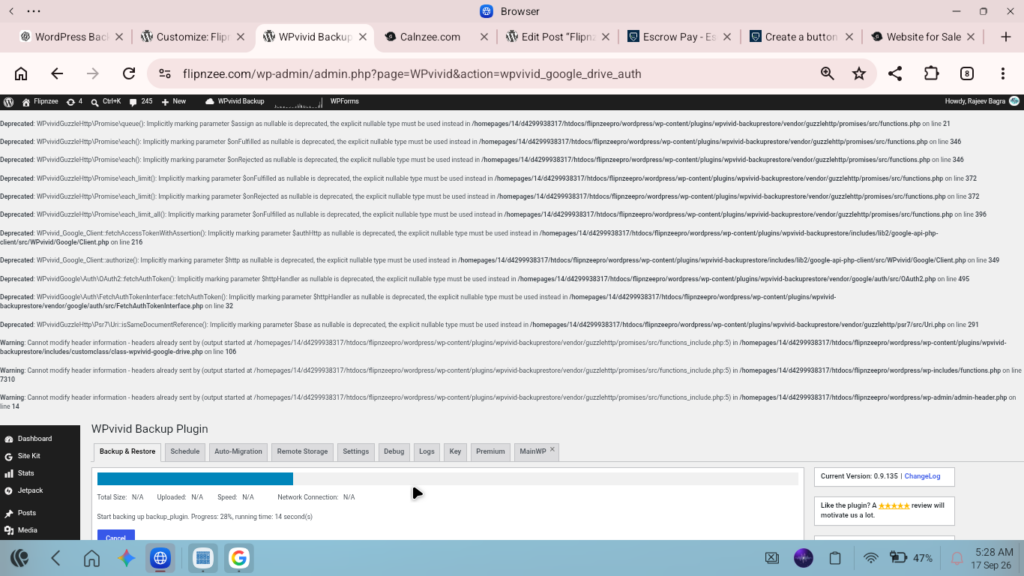
Wait for the process to finish.
Do not close the page or cancel the backup while it is running.
Step 3: Connect Google Drive
Once the manual backup has completed, go to:
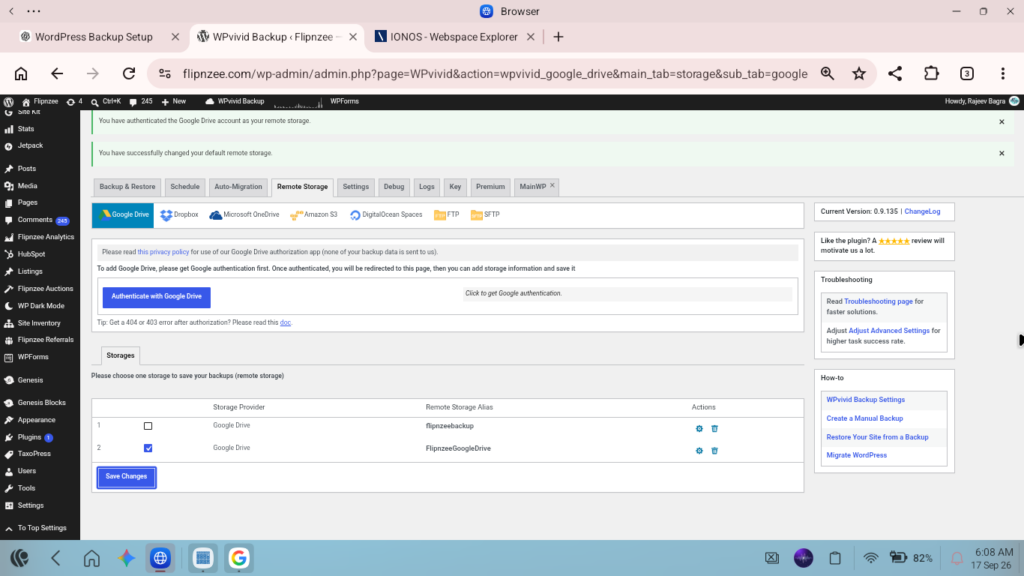
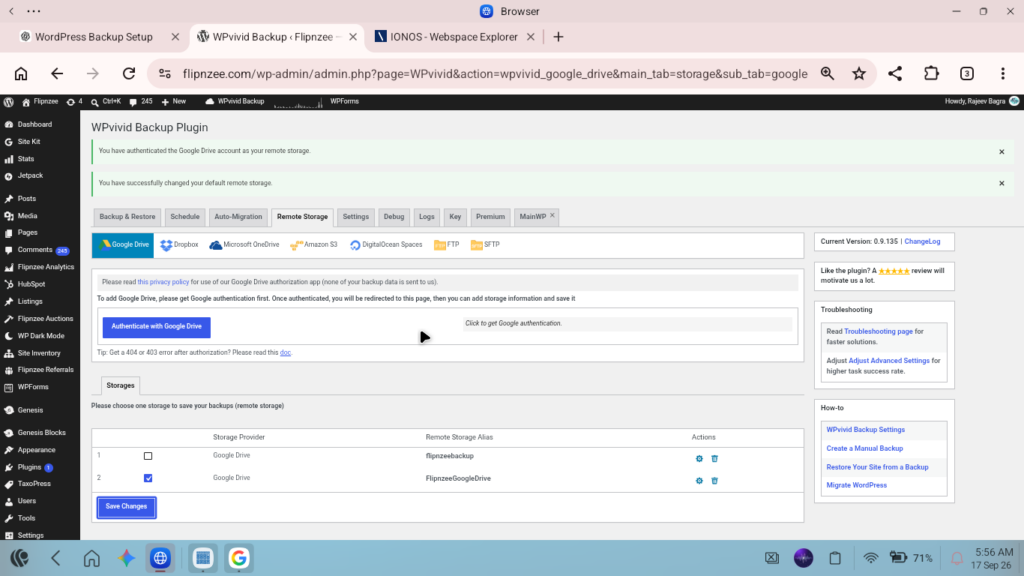
WPvivid Backup → Remote Storage
Select:
Google Drive
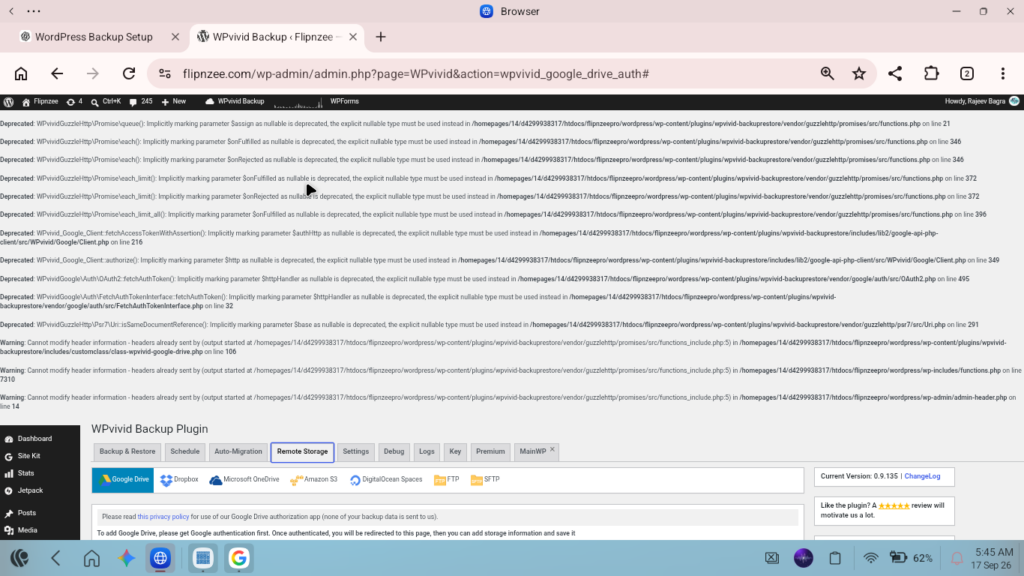
WPvivid will ask you to authenticate your Google account.
Follow the Google authorization process and return to WordPress.
WPvivid officially supports Google Drive as a remote backup destination. (WPvivid Documentation)
After authentication, Google Drive should appear in the list of available remote storage options.
Step 4: Make Google Drive the Default Remote Storage
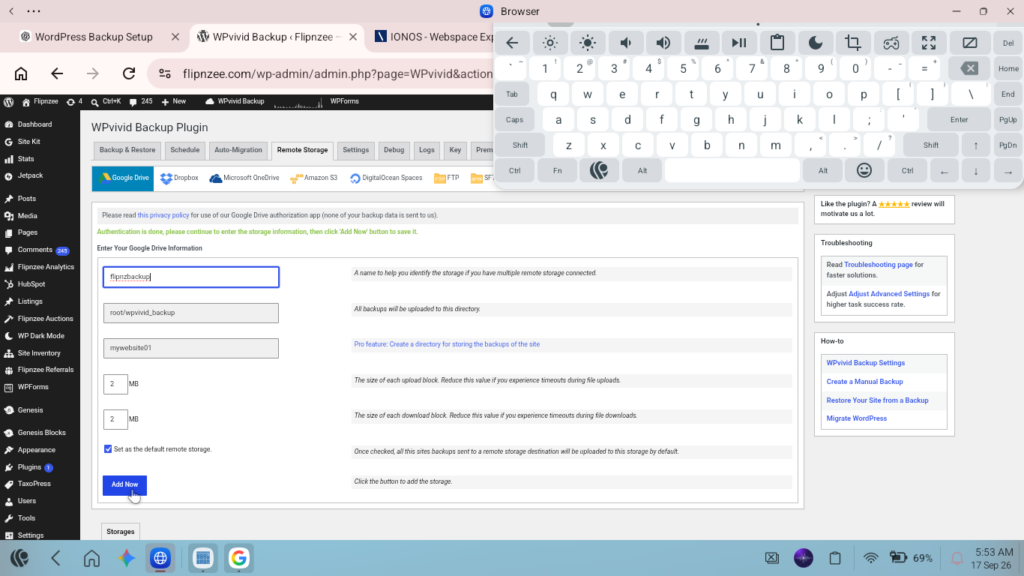
If you have more than one remote storage connection, select the Google Drive account you want to use as the default storage destination.
For example, you might give the connection a recognizable name such as:
My Website Google Drive
The exact name isn’t important. It is simply an identifier that helps you recognize the storage connection later.
Once Google Drive is selected as the default remote storage, scheduled backups can use that destination.
Step 5: Test a Real Google Drive Backup
This is an important step.
Don’t assume that because Google Drive has been connected, everything is working.
Go back to:
WPvivid Backup → Backup & Restore
Select:
Database + Files (WordPress Files)
Then select:
Send Backup to Remote Storage
Make sure Google Drive is selected.
Click:
Backup Now
Wait until the backup finishes.
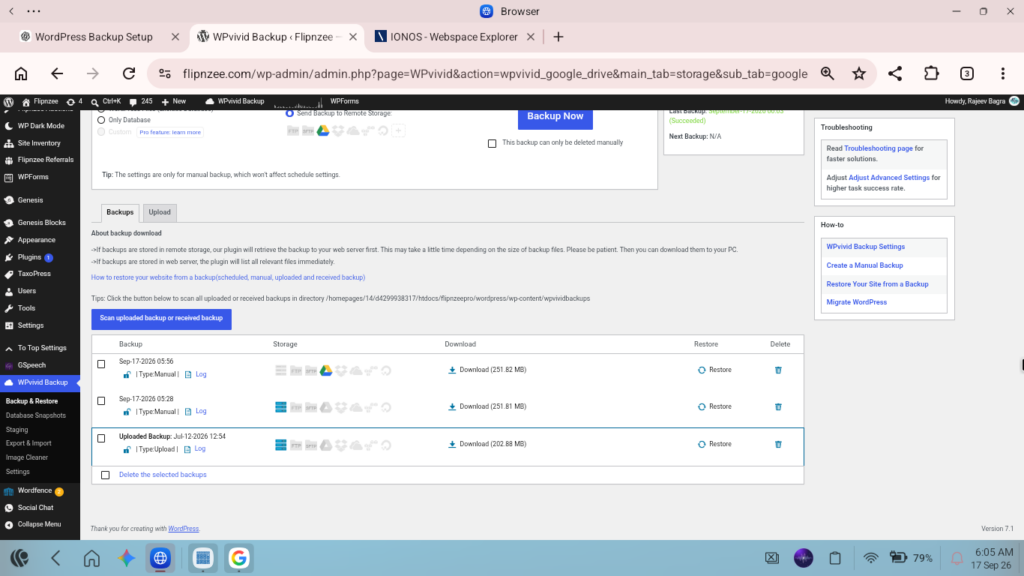
Then check the backup list.
You should see the newly created backup and Google Drive should appear as the remote storage destination.
This test confirms that the complete process works:
WordPress → WPvivid → Google Drive
WPvivid supports both manual backups and cloud-storage destinations. (WPvivid)
Step 6: Set Up Automatic Backups
Once the manual Google Drive backup has been successfully tested, it’s time to automate the process.
Go to:
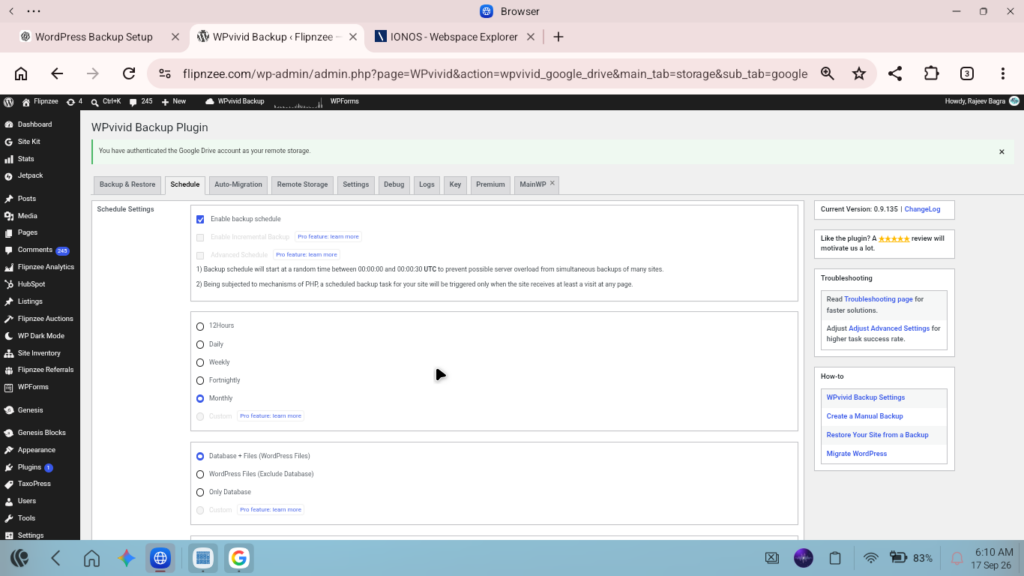
WPvivid Backup → Schedule
Enable:
Enable backup schedule
WPvivid provides several scheduling options, including daily, weekly, fortnightly and monthly backups. (WPvivid Documentation)
For a website that doesn’t change dramatically every day, monthly full backups can be a simple and practical arrangement.
Select:
Monthly
Then select:
Database + Files (WordPress Files)
And select:
Send backups to remote storage
Make sure your Google Drive storage is selected.
Finally, click:
Save Changes
My Recommended Basic Configuration
For a small business website or WordPress project, a simple configuration could look like this:
| Setting | Recommended option |
|---|---|
| Backup frequency | Monthly |
| Backup type | Database + Files |
| Destination | Google Drive |
| Backup method | Automatic |
| Manual backup | Before major changes |
This isn’t the only possible configuration. Websites that change frequently may benefit from more frequent backups.
WPvivid itself notes that backup frequency can be adjusted according to how frequently a website changes. (WPvivid)
Don’t Forget Manual Backups
Automatic monthly backups are useful, but I wouldn’t rely on them exclusively.
Before making a major change to your WordPress website, create a manual backup.
For example, create a backup before:
- Updating WordPress
- Installing a major plugin
- Changing your theme
- Making significant database changes
- Performing a migration
- Modifying custom code
- Making major changes to a custom WordPress plugin
This gives you a restore point immediately before the change.
WPvivid specifically identifies manual backups as useful before WordPress updates, plugin/theme changes, configuration changes and migrations. (WPvivid Documentation)
Why I Prefer Database + Files
You may notice that WPvivid gives you several choices:
Database + Files
WordPress Files
Only Database
These have different purposes.
Database only
This protects your WordPress database but doesn’t contain all your website files.
It can be useful in certain situations, but it isn’t sufficient as your only disaster-recovery backup.
WordPress files only
This protects files such as:
- Themes
- Plugins
- Images
- Uploaded documents
- Other WordPress files
But it doesn’t protect the database.
Database + Files
This combines both.
For a complete website recovery strategy, this is generally the option I would choose.
WPvivid describes a full backup as a backup containing both the website files and database. (WPvivid Documentation)
Why Google Drive Is Useful
The biggest advantage isn’t necessarily Google Drive itself.
The important concept is separation.
Your website is hosted in one location while the backup is stored somewhere else.
For example:
Website
→ Hosting server
Backup
→ Google Drive
If something happens to the hosting server, you have another copy outside that server.
WPvivid describes remote storage as a way to provide off-site protection and additional backup redundancy. (WPvivid Documentation)
One Important Limitation: Backup Frequency
A monthly backup is convenient, but consider how frequently your website changes.
Suppose your website changes significantly every week and you only create one backup each month.
If something goes wrong near the end of the month, your most recent backup could be several weeks old.
For a frequently updated website, you may therefore prefer:
Daily → Weekly → Fortnightly
rather than monthly.
For a relatively stable website, monthly may be perfectly adequate.
The right frequency depends on how much data you can afford to lose between backup points.
Keep Multiple Backup Versions
Another useful practice is to retain several backup versions rather than continuously replacing one backup with another.
For example:
- Current month’s backup
- Previous month’s backup
- Backup from two months ago
- Backup from three months ago
- etc.
This gives you several restore points.
It’s particularly useful if you discover a problem only after several days or weeks.
WPvivid provides backup-retention settings for controlling how many backup copies are kept. (WPvivid)
Test Your Backups
A backup is only useful if you can actually restore from it.
After establishing your backup system, periodically verify that:
- The backup is being created.
- The backup reaches Google Drive.
- The backup appears in WPvivid.
- The backup can be downloaded or accessed.
- You understand how to restore the website.
You don’t necessarily need to restore your live website just to test the process. If you have a staging or test environment, that can be a safer place to test restoration.
A Simple Backup Strategy for WordPress
For many website owners, the following approach is easy to maintain:
Normal operation
Automatic monthly full backup
↓
Google Drive
↓
Keep several previous backup copies
Before major changes
Manual full backup
↓
Google Drive
↓
Make the website/plugin changes
This gives you both routine protection and a backup immediately before important work.
What About WordPress Plugin Code?
If your website contains custom-developed plugins, there is another important consideration.
A WordPress backup protects the installed plugin files, but I would also recommend keeping the source code under version control, especially for custom plugins.
For example:
WordPress backup
→ Protects the working website and database
Git repository
→ Protects the development history and source code
These solve different problems and complement each other.
Final Thoughts
You don’t need an expensive backup system to get started with proper WordPress backup protection.
A straightforward setup can be:
WPvivid Free
↓
Full Database + Files backup
↓
Google Drive
↓
Automatic monthly schedule
↓
Manual backup before major changes
WPvivid’s free plugin officially supports scheduled backups and remote storage, including Google Drive. (WPvivid Documentation)
The most important lesson is simple:
Don’t keep your only backup on the same server as your website.
An off-site copy gives you another recovery option if your hosting environment becomes unavailable.
For more detailed instructions, the official resources are:
WPvivid Backup & Migration – Official Website