
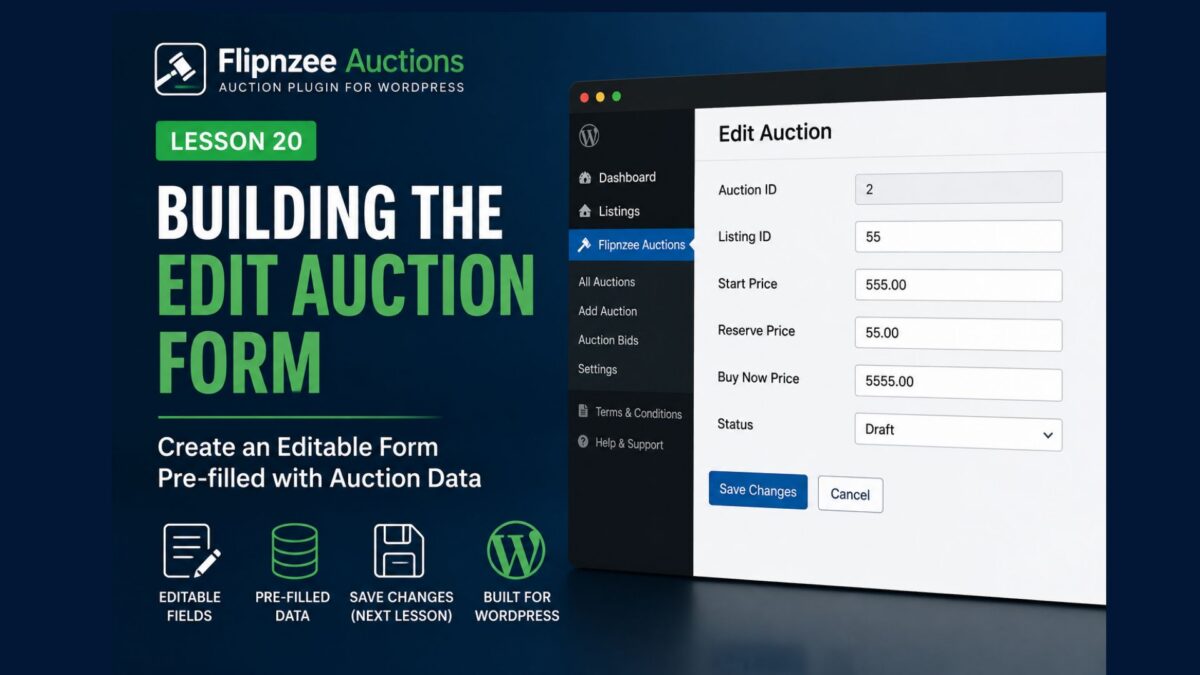
Lesson 20: Building the Edit Auction Form

In the previous lesson, we successfully created an Edit Auction page and retrieved the selected auction from the database. When an administrator clicked the Edit link, the plugin displayed the auction’s current information.
Although this proved that our retrieval logic worked correctly, the page was still read-only. In this lesson, we’ll replace the information table with a fully editable form whose fields are automatically populated with the auction’s existing values.
This approach mirrors how WordPress edits posts, pages, users, and many other objects. Administrators see the current values, make changes, and then save them.
Learning Objectives
By the end of this lesson you will be able to:
- Build an editable administration form.
- Pre-populate form fields with database values.
- Display existing auction information inside HTML inputs.
- Create the foundation for updating auctions in the next lesson.
Current Workflow
Our current workflow is:
All Auctions
      ↓
Click Edit
      ↓
Retrieve Auction
      ↓
Display Read-only Table
After today’s lesson it becomes:
All Auctions
      ↓
Click Edit
      ↓
Retrieve Auction
      ↓
Editable Form
      ↓
Save Changes (Next Lesson)
Step 1 – Locate the Edit Auction Page
Open:
admin/class-admin.php
Locate the method:
public function edit_auction_page()
Inside the method you’ll find a table displaying the auction details.
Step 2 – Replace the Table with a Form
Replace the existing table with the following form:
<form method="post">

	<table class="form-table">

		<tr>

			<th scope="row">
				<label for="listing_id">Listing ID</label>
			</th>

			<td>
				<input
					type="number"
					id="listing_id"
					name="listing_id"
					value="<?php echo esc_attr( $auction->listing_id ); ?>"
					required
					class="regular-text"
				>
			</td>

		</tr>

		<tr>

			<th scope="row">
				<label for="start_price">Start Price</label>
			</th>

			<td>
				<input
					type="number"
					step="0.01"
					id="start_price"
					name="start_price"
					value="<?php echo esc_attr( $auction->start_price ); ?>"
					class="regular-text"
				>
			</td>

		</tr>

		<tr>

			<th scope="row">
				<label for="reserve_price">Reserve Price</label>
			</th>

			<td>
				<input
					type="number"
					step="0.01"
					id="reserve_price"
					name="reserve_price"
					value="<?php echo esc_attr( $auction->reserve_price ); ?>"
					class="regular-text"
				>
			</td>

		</tr>

		<tr>

			<th scope="row">
				<label for="buy_now_price">Buy Now Price</label>
			</th>

			<td>
				<input
					type="number"
					step="0.01"
					id="buy_now_price"
					name="buy_now_price"
					value="<?php echo esc_attr( $auction->buy_now_price ); ?>"
					class="regular-text"
				>
			</td>

		</tr>

		<tr>

			<th scope="row">
				<label for="status">Status</label>
			</th>

			<td>

				<select
					name="status"
					id="status"
				>

					<option value="draft" <?php selected( $auction->status, 'draft' ); ?>>
						Draft
					</option>

					<option value="active" <?php selected( $auction->status, 'active' ); ?>>
						Active
					</option>

					<option value="closed" <?php selected( $auction->status, 'closed' ); ?>>
						Closed
					</option>

				</select>

			</td>

		</tr>

	</table>

	<?php submit_button( 'Save Changes' ); ?>

</form>
Notice that every input field uses the current auction value. This allows administrators to modify existing information instead of re-entering everything.
Step 3 – Test the Plugin

Create a fresh ZIP and upload the updated plugin.
Navigate to:
Flipnzee Auctions → All Auctions
Click Edit.
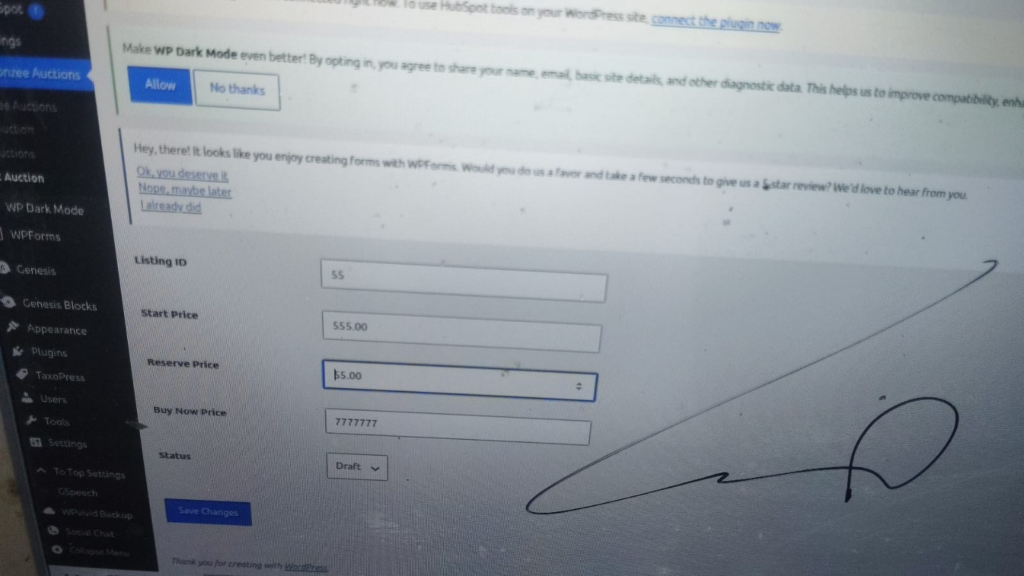
Instead of a read-only table you should now see an editable form containing:
- Listing ID
- Start Price
- Reserve Price
- Buy Now Price
- Status
The Save Changes button will appear but won’t update the database yet. We’ll implement that functionality in the next lesson.
Why Build the Form First?
Professional software development often separates the user interface from the data processing logic.
Today’s lesson focuses entirely on presenting editable fields.
The next lesson will focus on validating user input and updating the database.
Separating these concerns makes the code easier to understand, test, and maintain.
Lesson Summary
In this lesson we transformed the Edit Auction page from a read-only display into an editable administration form.
Each input field is automatically populated using data retrieved from the database, allowing administrators to modify auction information without retyping existing values.
Although the Save Changes button is now visible, it does not yet perform any updates. That functionality will be implemented in the next lesson.
Key Takeaways
- Editable forms improve administrator usability.
- Existing values should always be pre-populated.
esc_attr()safely outputs values inside HTML attributes.- Building the interface before processing simplifies development.
Common Mistakes
- Forgetting to pre-populate form values.
- Using
echowithoutesc_attr()inside HTML attributes. - Omitting the Status dropdown.
- Trying to update the database before the form is complete.
Git Commands Used
git add .

git commit -m "Lesson 20: Build Edit Auction form"

git push
Testing Checklist
Before moving to the next lesson, verify that:
- ✅ The plugin activates successfully.
- ✅ The Edit page opens correctly.
- ✅ All fields contain the current auction values.
- ✅ Status is selected correctly.
- ✅ The Save Changes button appears.
- ✅ No PHP errors occur.
Project Status
✅ Dashboard

✅ Add Auction

✅ Save Auction

✅ View Auctions

✅ WP_List_Table

✅ Row Actions

✅ Edit Auction Page

✅ Edit Auction Form

⬜ Update Auction

⬜ Delete Auction

⬜ Bid Engine

⬜ Escrow Workflow
Developer’s Notebook
Creating the editing interface before implementing database updates follows a common development pattern. It allows you to verify that data retrieval and presentation work correctly before adding validation and persistence logic. This incremental approach also makes debugging significantly easier because each lesson introduces only one major concept.