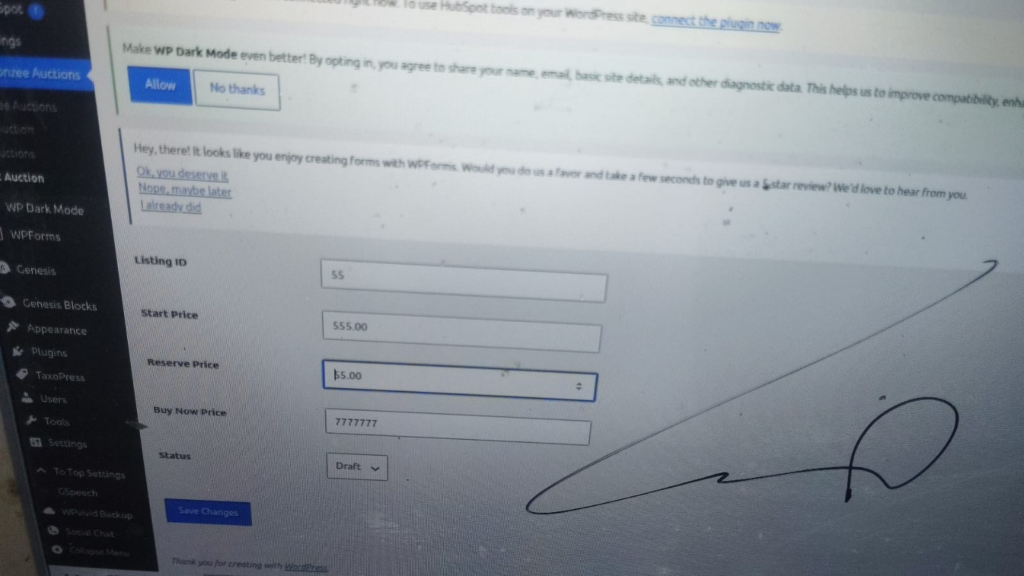
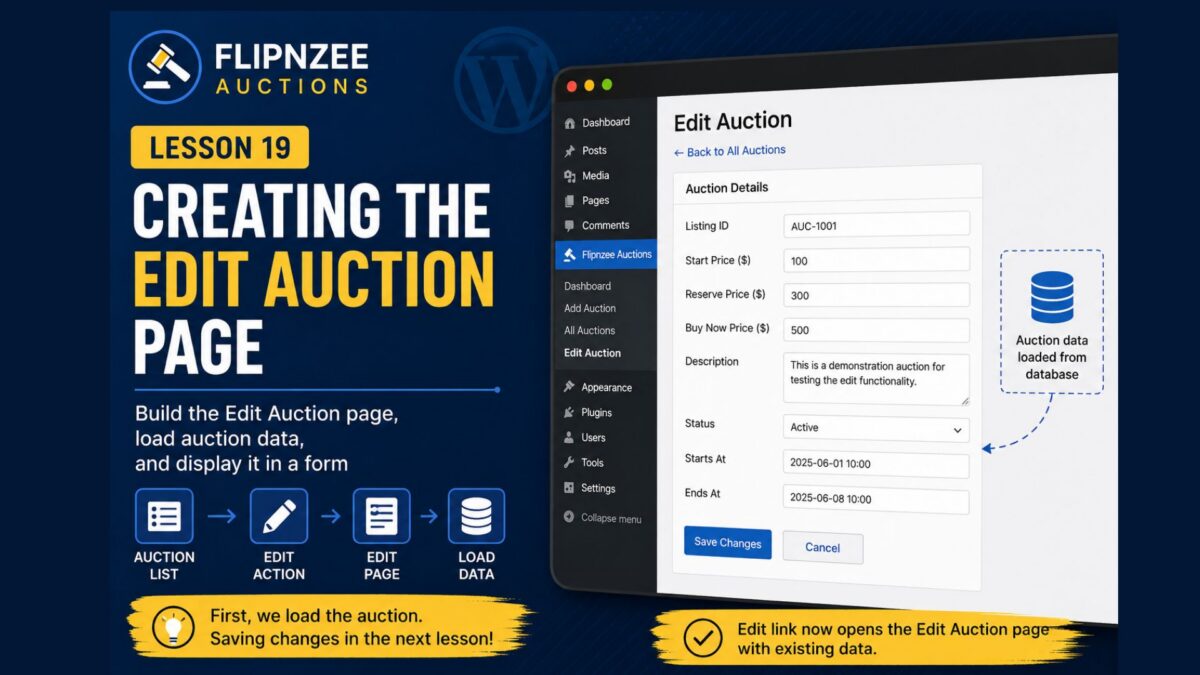
Lesson 31 — Adding Status Filters to the Auction Management Table


Introduction

As the number of auctions grows, searching by keywords alone is often not enough. Administrators frequently need to view only auctions in a particular state, such as active auctions currently accepting bids or closed auctions that have already ended.

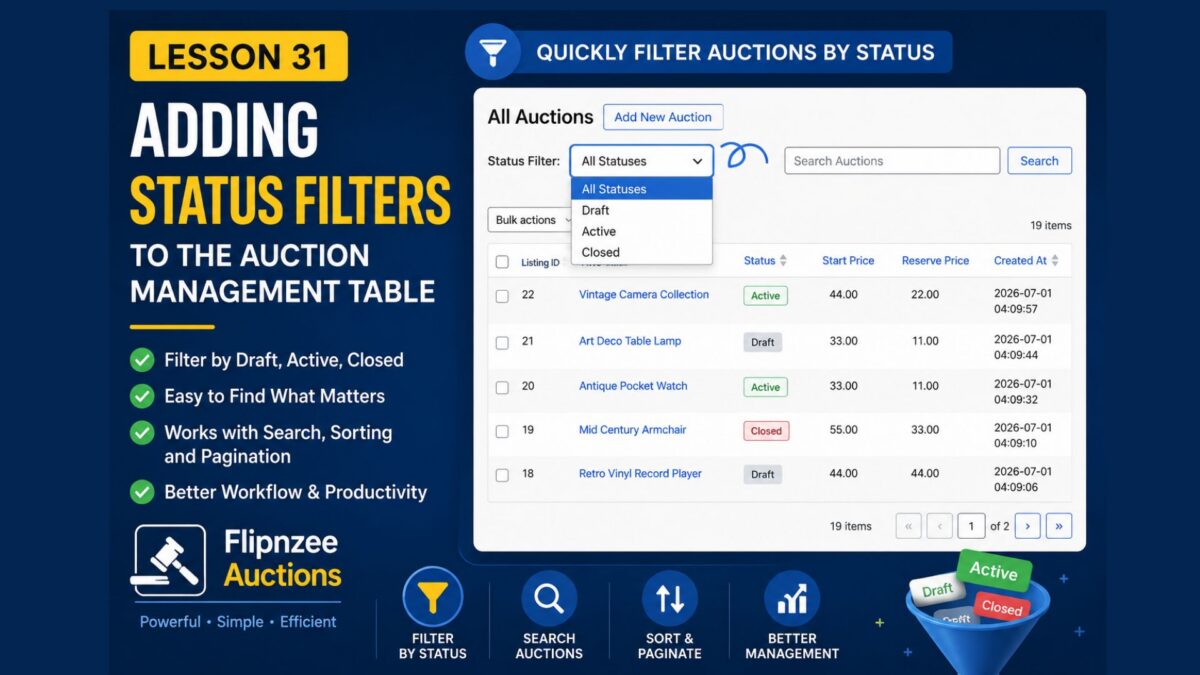
In this lesson, we’ll enhance the All Auctions page by adding status filters above the table. Administrators will be able to quickly filter the auction list by Draft, Active, or Closed without manually searching through every record.

By the end of this lesson, your auction management screen will feel even closer to the professional interfaces found throughout the WordPress admin area.


What You’ll Learn

After completing this lesson, you’ll know how to:

  • Add custom filter controls to a WP_List_Table
  • Read filter values from the URL
  • Sanitize incoming request parameters
  • Filter database queries dynamically
  • Preserve filters during pagination and searching
  • Display only matching auction records

Why Status Filters Matter

When managing a large number of auctions, administrators often need answers such as:

  • Which auctions are currently active?
  • Which auctions are still drafts?
  • Which auctions have already closed?

Without filters, administrators must search manually or scroll through multiple pages.

Status filters provide several advantages:

  • Faster administration
  • Improved usability
  • Cleaner workflow
  • Reduced scrolling
  • Better organization of auction records

Files We’ll Modify

During this lesson we’ll update the following files:

admin/class-auctions-table.php
admin/class-admin.php
includes/class-auction-manager.php

Implementation Overview

We’ll complete this feature in several small steps.

Step 1

Add a Status dropdown above the auction table.


Step 2

Read the selected status from the request.


Step 3

Modify the database query to filter results.


Step 4

Update the total record count for pagination.


Step 5

Preserve the selected filter when navigating between pages.


Step 6

Combine filtering with searching and sortable columns.


Expected Result

After completing this lesson, administrators will be able to:

  • View all auctions
  • View only Draft auctions
  • View only Active auctions
  • View only Closed auctions
  • Combine status filtering with keyword searching
  • Continue using pagination and sortable columns while filters remain active

Final Thoughts

Status filters are a common feature in professional WordPress plugins because they allow administrators to quickly focus on the records that matter most.

In this lesson, you’ll learn how to integrate custom filters into your existing WP_List_Table while preserving compatibility with searching, sorting, pagination, and bulk actions.

By the end of the lesson, the Flipnzee Auctions plugin will provide an even more polished and efficient administrative experience, making it easier to manage growing numbers of auction listings.
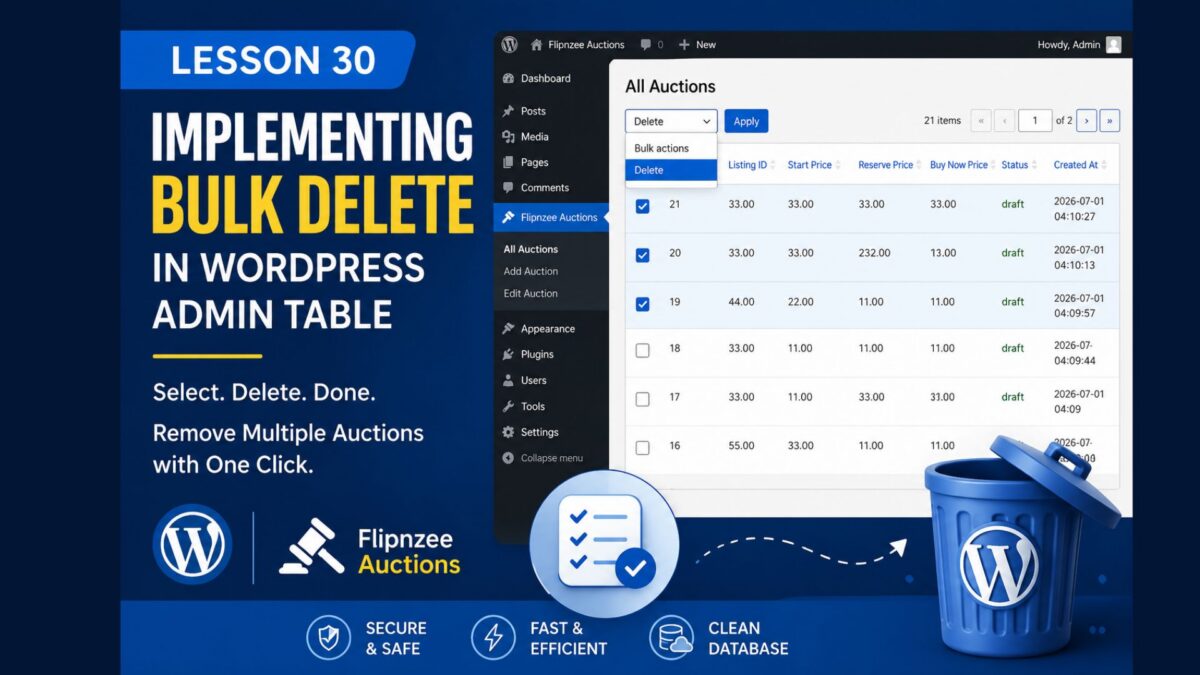
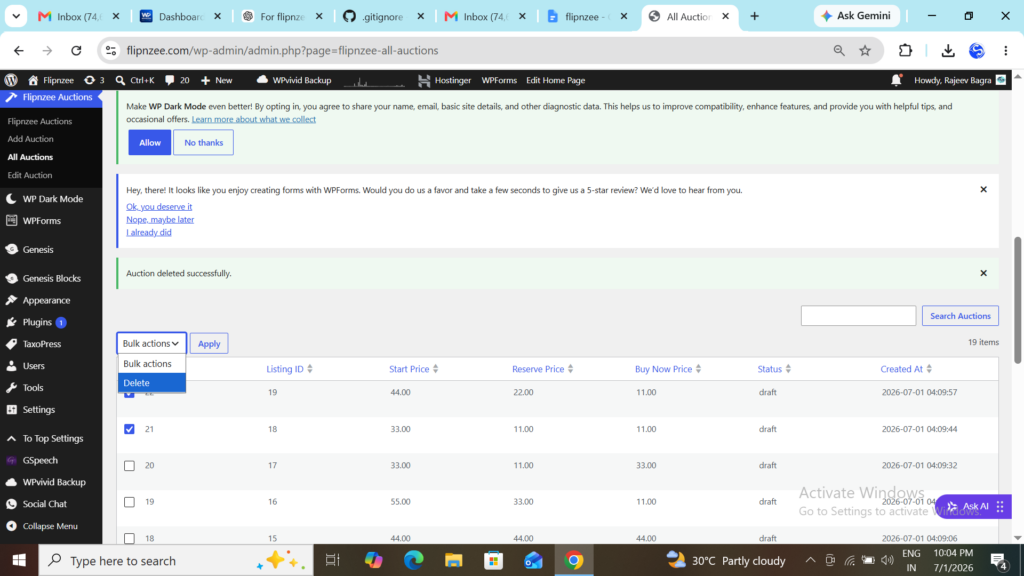
Lesson 30 — Bulk Delete Functionality in the WordPress Admin Table


Introduction

In the previous lesson, we added checkbox selection and a Bulk Actions dropdown to our custom WP_List_Table. Although the interface looked complete, selecting auctions and clicking Apply did not actually perform any action.

In this lesson, we’ll implement the backend logic required to process bulk deletion securely. We’ll learn how WordPress submits bulk actions, how to retrieve selected record IDs, and how to delete multiple database records efficiently while following WordPress coding standards.

By the end of this lesson, administrators will be able to select multiple auctions and remove them with a single click.


What You’ll Learn

After completing this lesson, you’ll know how to:

  • Process bulk actions submitted by WP_List_Table
  • Detect which bulk action was selected
  • Retrieve multiple selected auction IDs safely
  • Sanitize and validate submitted IDs
  • Delete multiple database records using a loop
  • Display success messages after bulk deletion
  • Follow WordPress security best practices

Why Bulk Delete Matters

Deleting one auction at a time quickly becomes inefficient when managing dozens or hundreds of auctions.

Bulk deletion provides several benefits:

  • Saves administrator time
  • Reduces repetitive clicks
  • Matches WordPress core behaviour
  • Makes the plugin feel professional
  • Improves usability for large datasets

Files We’ll Modify

During this lesson we’ll update the following files:

admin/class-auctions-table.php
admin/class-admin.php
includes/class-auction-manager.php

Implementation Overview

We’ll complete the feature in several small steps:

Step 1

Detect when the administrator selects a bulk action.


Step 2

Retrieve all selected auction IDs.


Step 3

Validate and sanitize every submitted ID.


Step 4

Delete each auction from the database.


Step 5

Redirect back to the auction list.


Step 6

Display a success notice showing the operation completed.


Expected Result

After completing this lesson:

  • ✔ Multiple auctions can be selected
  • ✔ Clicking Delete removes every selected auction
  • ✔ The table refreshes automatically
  • ✔ A success message confirms the deletion
  • ✔ The plugin behaves similarly to the built-in WordPress Posts screen

Final Thoughts

This lesson introduces one of the most useful administrative features in any WordPress plugin: processing bulk actions.

You’ll learn how WP_List_Table communicates selected rows to your plugin and how to process those requests securely. The same approach can later be extended to bulk activation, bulk closing of auctions, exporting records, changing statuses, and many other administrative operations.

In the next lesson, we’ll continue improving the auction management interface by adding additional professional features and refining the administrator experience.

Lesson 29 — Adding Bulk Delete to the Auctions Table Using WP_List_Table


Introduction

As the number of auctions grows, deleting them one at a time becomes inefficient. WordPress solves this problem by allowing administrators to select multiple rows and perform an action on all of them simultaneously.

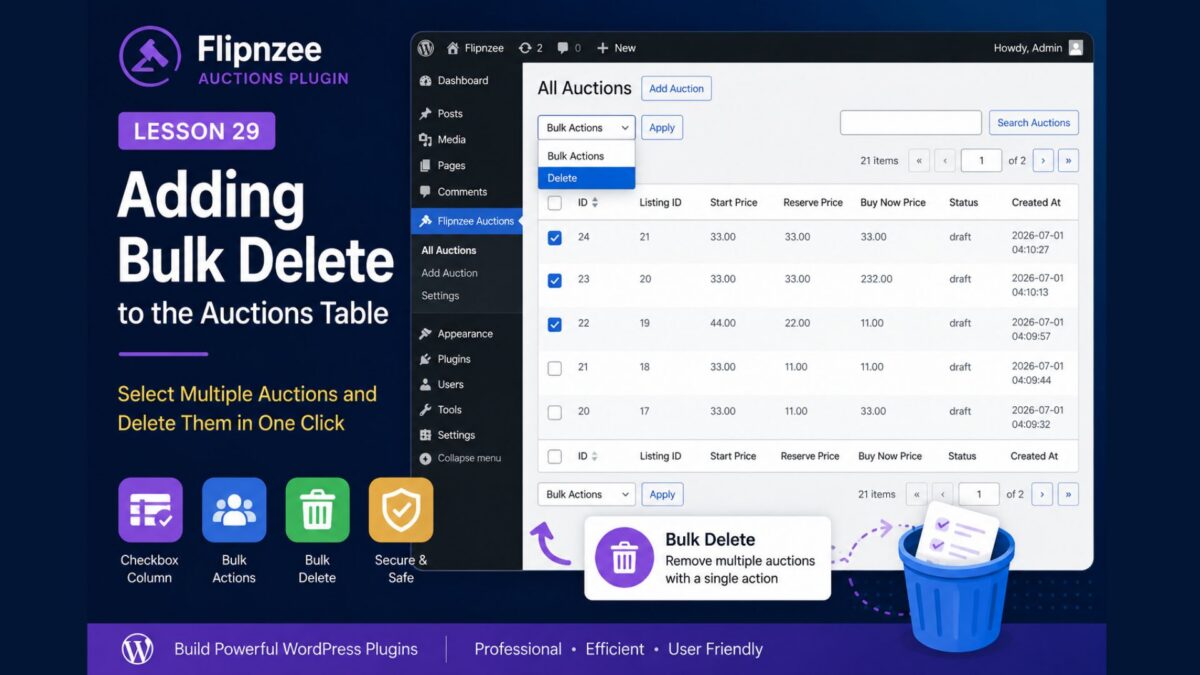
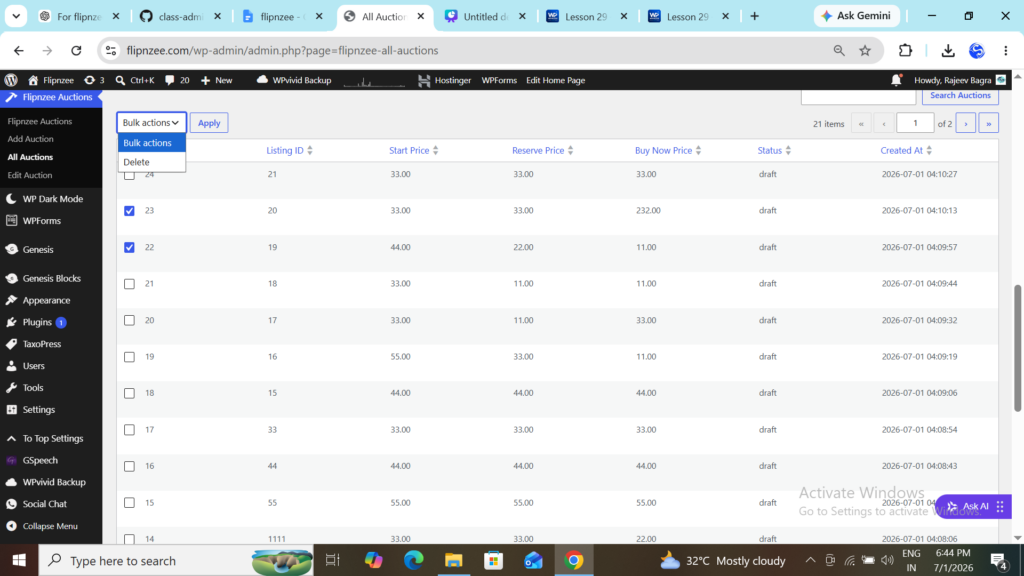
In this lesson, we’ll add Bulk Delete to our custom WP_List_Table. Administrators will be able to select multiple auctions using checkboxes and delete them all with a single action, just like on the Posts or Pages screens.

By the end of this lesson, your Auctions table will feel even more like a native WordPress admin screen.


What You Will Learn

In this lesson, you will learn how to:

  • Add a checkbox column to WP_List_Table
  • Display a checkbox for each auction
  • Register bulk actions
  • Detect which bulk action the user selected
  • Process multiple selected auctions
  • Secure the operation using WordPress nonces
  • Display a success message after bulk deletion

Why Bulk Actions Matter

Imagine managing hundreds of auctions.

Deleting them individually would require:

  • Click Delete
  • Confirm deletion
  • Wait for the page to reload
  • Repeat the process dozens of times

Bulk actions allow administrators to remove many auctions in a single operation, improving productivity and creating a much better user experience.


Files We Will Modify

During this lesson, we will update:

admin/class-auctions-table.php

and

admin/class-admin-posts.php

We will also make a small update to:

admin/class-admin.php

to display an appropriate success notice after the bulk action completes.


New WordPress Concepts

This lesson introduces several important WP_List_Table methods:

  • column_cb()
  • get_bulk_actions()
  • process_bulk_action()
  • current_action()

These methods are used by many WordPress core administration screens.


Expected Result

After completing this lesson, the Auctions table will include:

  • A checkbox beside every auction
  • A “Select All” checkbox in the table header
  • A Bulk Actions dropdown
  • A Delete option
  • A single-click way to delete multiple auctions

The feature will closely resemble the familiar bulk actions available on the WordPress Posts screen.


Before You Start

Make sure your plugin already includes:

  • ✅ Working Add Auction page
  • ✅ Edit Auction page
  • ✅ Delete Auction action
  • ✅ Pagination
  • ✅ Search
  • ✅ Sortable columns

These features were implemented in the previous lessons and will be used throughout this exercise.


What Comes Next

In the implementation article, we’ll build this feature step by step by:

  1. Adding the checkbox column.
  2. Creating the Bulk Actions dropdown.
  3. Processing selected auctions.
  4. Deleting multiple records safely.
  5. Displaying a success message after completion.
  6. Testing the feature thoroughly.

Lesson 26 — Adding Search Functionality to the Auctions Table Using WP_List_Table

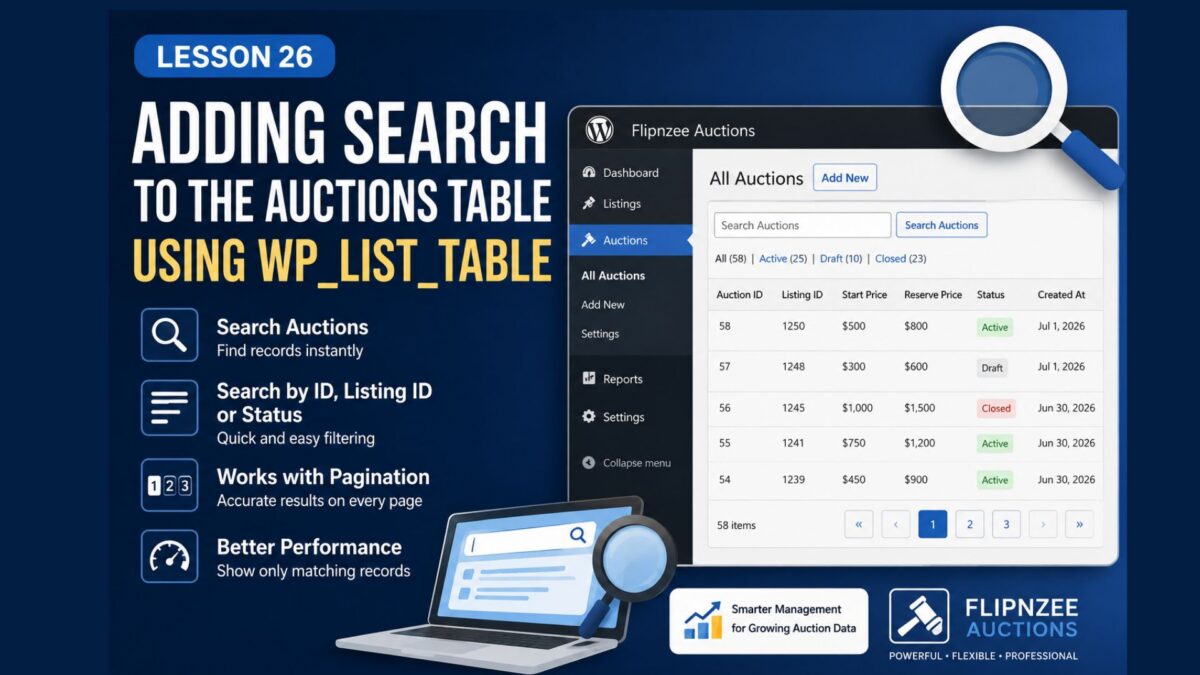
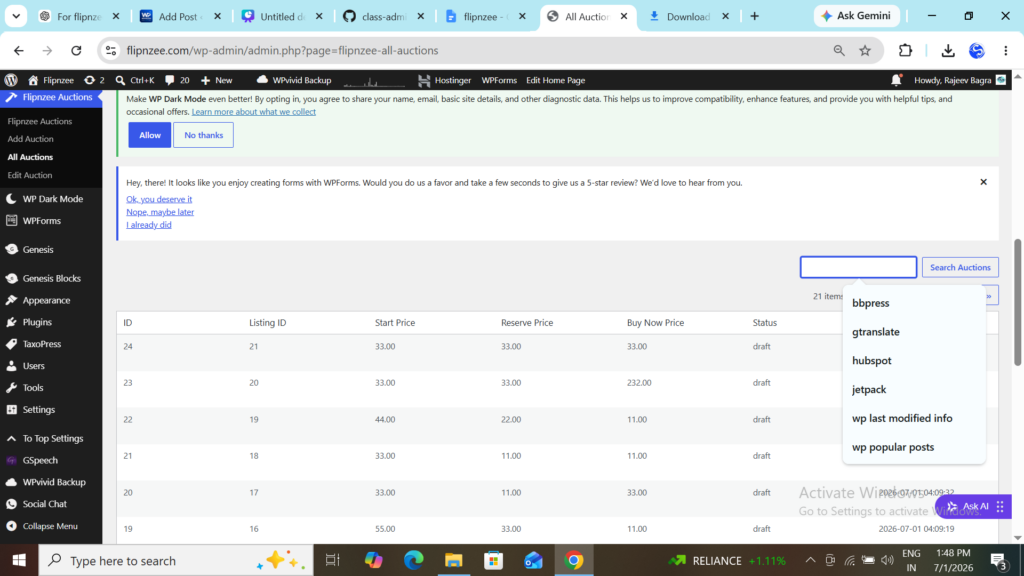
As the number of auctions grows, scrolling through multiple pages becomes inefficient. WordPress solves this problem by providing a built-in search box in WP_List_Table. In this lesson, we’ll integrate that search feature into the Flipnzee Auctions plugin so administrators can quickly locate auctions by ID, Listing ID, or Status.

By the end of this lesson, the Auctions screen will feel much closer to native WordPress admin pages such as Posts, Pages, and Users.


What You’ll Build

After completing this lesson, administrators will be able to:

  • Search auctions from the admin table.
  • Search by Auction ID.
  • Search by Listing ID.
  • Search by Status.
  • Combine search with pagination.
  • Display only matching auction records.

Why Add Search?

Imagine managing hundreds or even thousands of auctions.

Without search, finding Auction #437 would require browsing through many pages.

A search box allows administrators to locate records instantly, improving productivity and making the plugin feel much more professional.


How WordPress Search Works

WP_List_Table already provides a search box.

However, it only displays the search field.

It is the developer’s responsibility to:

  • Display the search box.
  • Read the search keyword.
  • Modify the database query.
  • Return only matching results.

Step 1 — Add a Search Box Above the Table

Update the All Auctions admin page.

Before displaying the table, output the search form using the built-in method:

$table->search_box(
    'Search Auctions',
    'flipnzee-search'
);

This automatically creates a familiar WordPress search field.


Step 2 — Read the Search Keyword

Retrieve the search term safely using:

  • sanitize_text_field()
  • wp_unslash()

If no search keyword is provided, continue displaying all auctions.


Step 3 — Update the Auction Manager

Modify the query that retrieves auctions.

If a search term exists, search multiple columns such as:

  • Auction ID
  • Listing ID
  • Status

using SQL conditions.


Step 4 — Count Matching Results

Pagination should work with search.

Instead of counting every auction, count only the matching auctions.

This ensures the page numbers remain accurate.


Step 5 — Preserve Search During Pagination

When moving from Page 1 to Page 2, the search keyword should remain in the URL.

Otherwise, WordPress would forget the search and display every auction again.


Step 6 — Test the Feature

Create several auctions with different:

  • Listing IDs
  • Prices
  • Status values

Then verify:

  • Searching by Listing ID returns the correct auction.
  • Searching by Status works.
  • Pagination still functions correctly.
  • No PHP warnings appear.

Example Workflow

Suppose your table contains:

Auction IDListing IDStatus
1101Draft
2215Active
3330Closed
4450Active

Searching for:

215

returns only Auction #2.

Searching for:

Active

returns Auctions #2 and #4.


Tips

  • Always sanitize search input before using it.
  • Use $wpdb->prepare() when building SQL queries.
  • Ensure pagination and search work together.
  • Test searches that return zero results.
  • Keep the search lightweight for better performance.

What We Learned

In this lesson, you learned how to:

  • Add a search box to a WP_List_Table.
  • Capture user search input securely.
  • Search auction records using SQL.
  • Combine search with pagination.
  • Build a more professional WordPress administration interface.

Next Lesson

In Lesson 27, we’ll make the Auctions table even more user-friendly by adding sortable columns, allowing administrators to sort auctions by:

  • Auction ID
  • Listing ID
  • Start Price
  • Reserve Price
  • Buy Now Price
  • Status
  • Creation Date

This will make managing large numbers of auctions much faster and more intuitive.

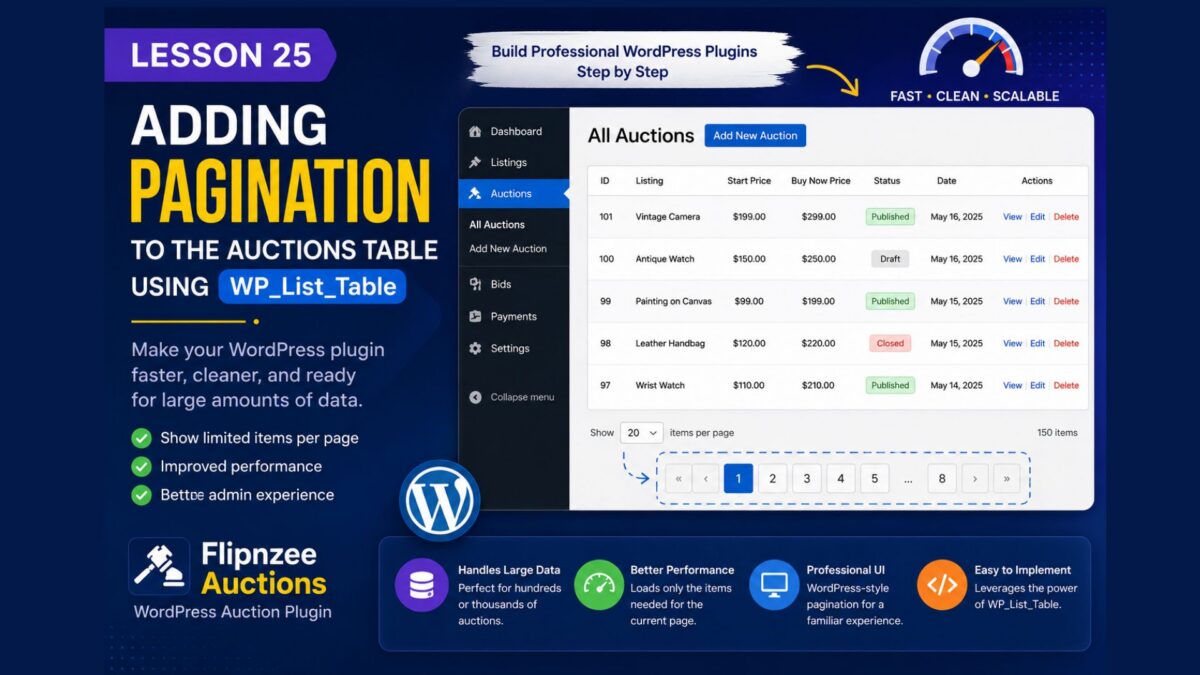
Lesson 25 — Adding Pagination to the Auctions Table Using WP_List_Table

By Lesson 24, our Flipnzee Auctions plugin already supports:

  • Creating auctions
  • Viewing all auctions
  • Editing auctions
  • Deleting auctions
  • Displaying professional success/error notices

However, there is still one major limitation.

If your marketplace eventually contains hundreds or even thousands of auctions, displaying every auction on a single page becomes slow and difficult to use.

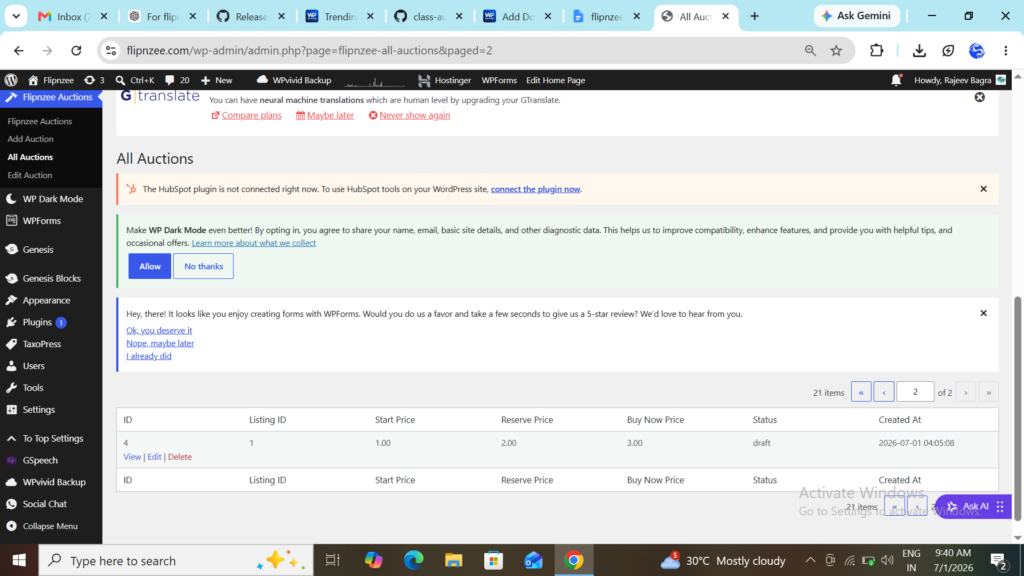
WordPress solves this problem with pagination, and since we’re already using WP_List_Table, adding it is surprisingly straightforward.

In this lesson, we’ll make our Auctions page production-ready by adding pagination.


Why Pagination Matters

Imagine your marketplace has:

  • 500 active auctions
  • 2,000 completed auctions
  • 15,000 historical auctions

Loading every record at once would:

  • increase page load time
  • consume unnecessary memory
  • make scrolling frustrating
  • reduce the overall admin experience

Instead, WordPress displays only a limited number of records per page.

Example:

Showing 20 auctions per page

Page 1
Page 2
Page 3
...
Page 150

This is how professional WordPress plugins behave.


How WP_List_Table Supports Pagination

The class already provides pagination support.

We only need to tell WordPress:

  • how many total items exist
  • how many items to display per page
  • which page the user is currently viewing

WordPress automatically creates:

  • Previous button
  • Next button
  • Page numbers
  • Current page indicator

Current Problem

Our current prepare_items() method probably looks similar to this:

$this->items = Flipnzee_Auction_Manager::get_all_auctions();

This loads every auction.

Instead, we should only load the current page.


Step 1 — Count Total Auctions

First, determine how many auctions exist.

Example:

$total_items =
	Flipnzee_Auction_Manager::count_auctions();

Step 2 — Decide Items Per Page

Choose how many auctions should appear on each page.

Example:

$per_page = 20;

Twenty items per page is a common default in WordPress.


Step 3 — Determine the Current Page

WordPress passes the current page automatically.

Example:

$current_page = $this->get_pagenum();

If the user clicks Page 4,

$current_page = 4

Step 4 — Calculate Database Offset

SQL needs to know where to begin.

Formula:

Offset =
(Current Page − 1)
×
Items Per Page

Example:

Page 1

Offset = 0

Page 2

Offset = 20

Page 3

Offset = 40

Only the required rows are retrieved.


Step 5 — Retrieve Only the Required Auctions

Instead of fetching everything:

SELECT *
FROM auctions

retrieve only the current page.

Example SQL:

SELECT *
FROM auctions
LIMIT 20 OFFSET 40

This loads only the records needed for the current page.


Step 6 — Configure Pagination

Finally, tell WP_List_Table how many pages exist.

Example:

$this->set_pagination_args(
	array(
		'total_items' => $total_items,
		'per_page'    => $per_page,
	)
);

WordPress calculates the number of pages automatically.


The Result

Instead of one endlessly long table:

Auction 1
Auction 2
Auction 3
...
Auction 2000

your users will see:

Auction 1
Auction 2
...
Auction 20

← Previous

1 2 3 4 5

Next →

This provides a cleaner and faster administration experience.


Why This Matters

Pagination is not just about convenience.

It also:

  • Improves performance
  • Reduces memory usage
  • Speeds up database queries
  • Makes large datasets manageable
  • Follows WordPress admin standards
  • Prepares your plugin for production use

What You’ll Learn Next

In Lesson 26, we’ll add sortable columns to the Auctions table so administrators can sort auctions by:

  • Auction ID
  • Listing ID
  • Start Price
  • Buy Now Price
  • Status
  • Creation Date

Sorting and pagination together make your auction management screen feel like a professional WordPress plugin rather than a basic prototype.

Lesson 25 Implementation Guide — Adding Pagination to the Auctions Table

Lesson 24 – Displaying Professional Admin Success and Error Notices in Your WordPress Plugin

In the previous lesson, we successfully implemented the ability to delete auctions from the Flipnzee Auctions plugin. The feature works correctly, but from a user’s perspective there is one thing missing—feedback.

Imagine clicking Delete and returning to the auction list with no indication whether the deletion actually succeeded. Users may wonder whether the auction was removed or if something went wrong.

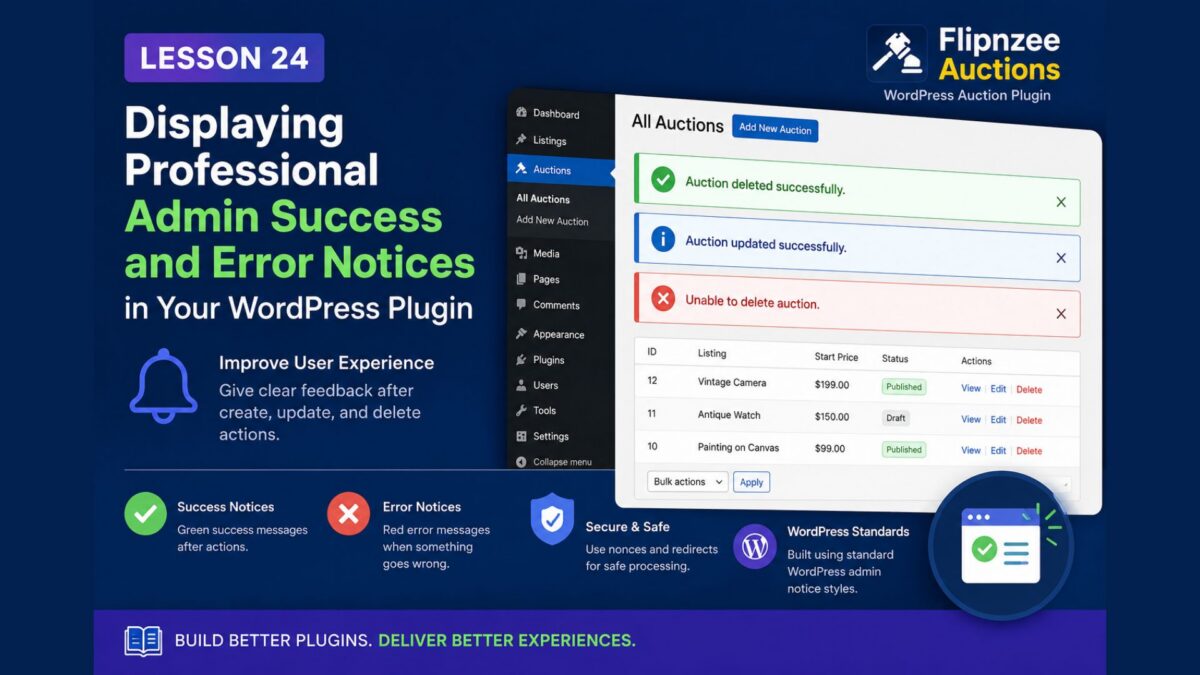
In this lesson, we’ll improve the user experience by displaying professional WordPress admin notices after important actions such as creating, updating, and deleting auctions.


Why Admin Notices Matter

WordPress itself uses admin notices throughout the dashboard.

For example:

  • Post published.
  • Settings saved.
  • Plugin activated.
  • Theme installed.

Users have become accustomed to seeing these messages. Your plugin should follow the same design pattern.


What We’ll Build

By the end of this lesson, the plugin will display messages such as:

  • Auction created successfully.
  • Auction updated successfully.
  • Auction deleted successfully.
  • Unable to delete auction.
  • Unable to update auction.

Each message will use the standard WordPress notice styles.


Passing Messages Between Pages

After an action is completed, the user is redirected back to an admin page.

For example:

wp_safe_redirect(
	admin_url(
		'admin.php?page=flipnzee-all-auctions&message=deleted'
	)
);

Notice the query parameter:

message=deleted

This allows the next page to know what happened.


Reading the Message

Inside the destination page we retrieve the message safely.

$message = isset( $_GET['message'] )
	? sanitize_text_field(
		wp_unslash( $_GET['message'] )
	)
	: '';

This ensures that only sanitized input is used.


Displaying a Success Notice

If the message equals deleted, we display a success notice.

if ( 'deleted' === $message ) :
?>

<div class="notice notice-success is-dismissible">
	<p>Auction deleted successfully.</p>
</div>

<?php endif; ?>

The classes are provided by WordPress.

  • notice
  • notice-success
  • is-dismissible

No custom CSS is required.


Displaying an Error Notice

If something goes wrong, we display an error.

<?php if ( 'error' === $message ) : ?>

<div class="notice notice-error is-dismissible">
	<p>Unable to delete auction.</p>
</div>

<?php endif; ?>

WordPress automatically styles it using the familiar red error notice.


Why Redirect Instead of Printing Messages?

Suppose we deleted the record and immediately echoed:

Auction deleted.

The user would remain on the processing page.

Instead, WordPress plugins usually:

  1. Perform the action.
  2. Redirect.
  3. Display a message.

This pattern avoids duplicate submissions when the browser is refreshed.


Benefits of This Approach

Our plugin now provides:

  • Clear feedback to administrators.
  • Consistent WordPress user experience.
  • Cleaner navigation.
  • Better security through redirects.
  • Professional appearance.

Best Practices Learned

Throughout this lesson we reinforced several WordPress development practices:

  • Use wp_safe_redirect() after processing forms.
  • Pass status information using query parameters.
  • Sanitize all incoming data.
  • Use WordPress admin notice classes.
  • Keep users informed after every important action.

What We’ve Achieved So Far

At this point, the Flipnzee Auctions plugin supports:

  • Plugin activation
  • Database creation
  • Admin dashboard
  • Add Auction
  • View Auctions
  • Edit Auction
  • Delete Auction
  • Admin notices
  • Secure nonces
  • CRUD operations

The plugin is beginning to feel like a real production-ready WordPress application rather than a simple demonstration project.


Coming Up Next

In Lesson 25, we’ll make the auction management screen even more powerful by adding Bulk Actions, allowing administrators to delete multiple auctions at once, just like the built-in WordPress Posts and Pages screens.

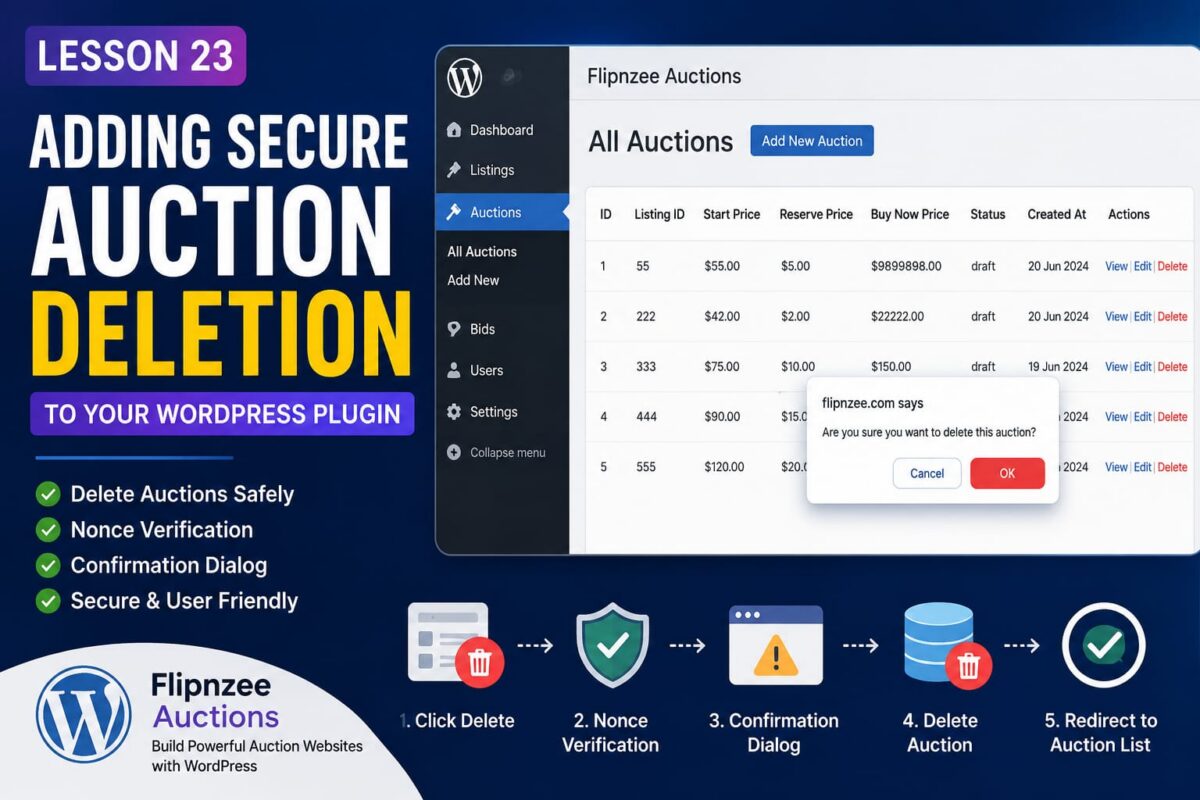
Lesson 23: Adding Secure Auction Deletion to Your WordPress Plugin


Deleting data is one of the most sensitive operations in any application. A single mistake can accidentally remove valuable records or create a serious security vulnerability.

In this lesson, we’ll build a secure Delete Auction feature for the Flipnzee Auctions plugin using WordPress best practices.

Why a Delete Feature Matters

As administrators manage auctions over time, some records become unnecessary:

  • Test auctions
  • Duplicate auctions
  • Expired drafts
  • Incorrect listings

Instead of manually deleting records from phpMyAdmin, administrators should be able to remove auctions directly from the WordPress dashboard.


Step 1 — Add a Delete Link

Inside our custom WP_List_Table, we added a new row action.

'delete' => sprintf(
    '<a href="%s" onclick="return confirm(\'Are you sure you want to delete this auction?\');">Delete</a>',
    wp_nonce_url(
        admin_url(
            'admin-post.php?action=flipnzee_delete_auction&auction_id=' . absint( $item->id )
        ),
        'flipnzee_delete_auction'
    )
),

This generates a secure URL for every auction.


Step 2 — Protect the Request with a Nonce

Deleting records should never rely only on an auction ID.

Instead, WordPress adds a nonce to the URL.

A nonce helps verify that:

  • the request originated from your website
  • the current administrator intentionally clicked Delete
  • attackers cannot easily forge deletion requests

Step 3 — Display a Confirmation Dialog

Before the browser follows the Delete link, JavaScript displays:

Are you sure you want to delete this auction?

This gives administrators one final chance to cancel.

It is a simple but important safeguard.


Step 4 — Register the Delete Action

WordPress routes admin form submissions and custom actions through the admin_post hook.

We registered:

add_action(
    'admin_post_flipnzee_delete_auction',
    array( $this, 'handle_delete_auction' )
);

Now WordPress knows exactly which method should process the deletion request.


Step 5 — Verify the Nonce

Inside our handler we verify the request.

check_admin_referer(
    'flipnzee_delete_auction'
);

If the nonce is invalid, WordPress immediately stops execution.

This protects the plugin from Cross-Site Request Forgery (CSRF) attacks.


Step 6 — Delete the Database Record

The Auction Manager performs the actual deletion.

Flipnzee_Auction_Manager::delete_auction(
    $auction_id
);

Keeping database operations inside the manager class keeps the code organized and easier to maintain.


Step 7 — Redirect Back

After deletion, the administrator is redirected back to the auction list.

wp_safe_redirect(
    admin_url(
        'admin.php?page=flipnzee-all-auctions'
    )
);

This prevents accidental duplicate requests if the page is refreshed.


What We Learned

In this lesson we learned how to:

  • Add custom row actions to WP_List_Table
  • Generate secure admin URLs
  • Protect delete operations using WordPress nonces
  • Display JavaScript confirmation dialogs
  • Handle custom admin_post actions
  • Remove database records safely
  • Redirect users after completing an action

Why This Matters

Delete functionality may seem simple, but implementing it securely is an important milestone in WordPress plugin development.

By following WordPress coding standards—using nonces, confirmation dialogs, dedicated manager classes, and proper redirects—you create a plugin that is both user-friendly and resistant to common security risks.

In the next lesson, we’ll continue enhancing the Flipnzee Auctions plugin by adding more professional management features to make auction administration even more powerful.

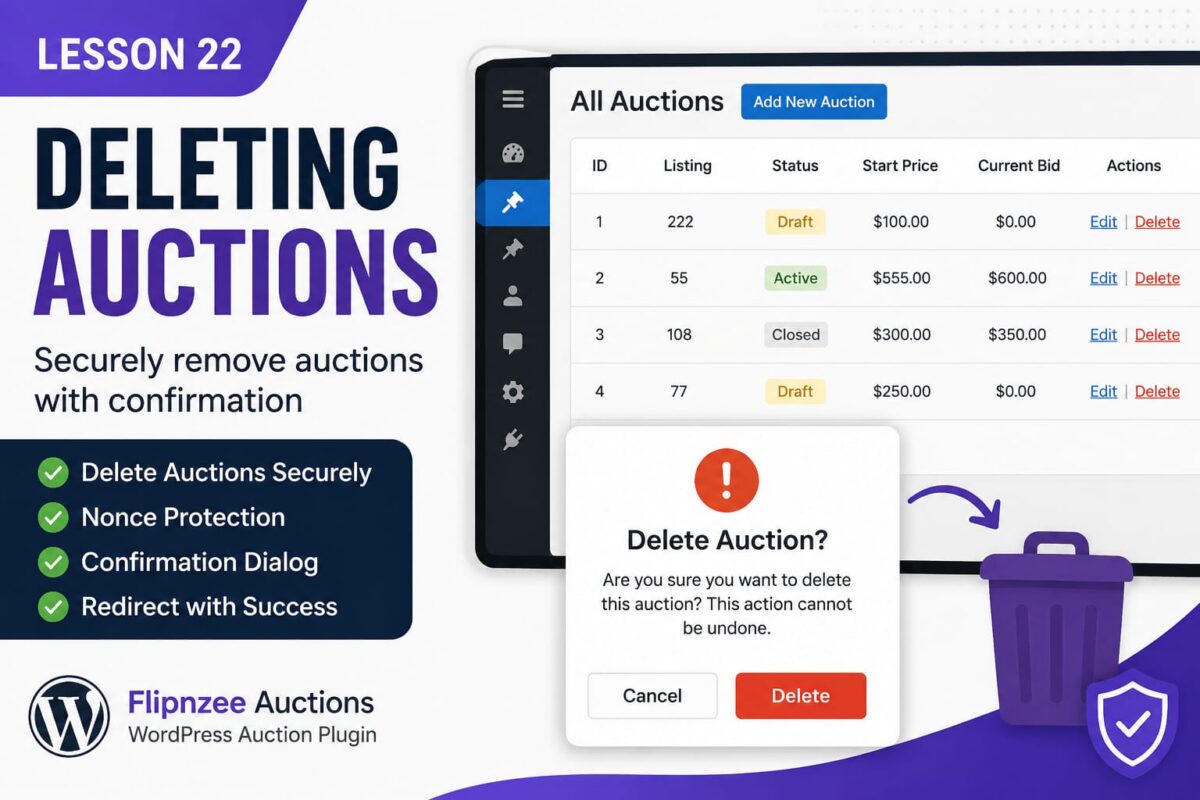
Lesson 22: Deleting Auctions Securely with Confirmation in WordPress

In the previous lessons, we successfully built the ability to create, view, and edit auctions from the WordPress admin panel. The final piece of the basic CRUD (Create, Read, Update, Delete) functionality is allowing administrators to safely delete auctions.

Deleting records is a destructive operation, so it must be implemented carefully. A poorly designed delete feature could allow accidental deletions or even expose your plugin to security vulnerabilities. In this lesson, we’ll build a secure delete system using WordPress best practices.


Why Deleting Requires Special Attention

Unlike creating or editing records, deleting permanently removes data from the database. This means we should always:

  • Verify the user’s permissions.
  • Protect against CSRF attacks using WordPress nonces.
  • Ask the administrator for confirmation.
  • Delete only the intended auction.
  • Redirect back with a success or error message.

Fortunately, WordPress provides built-in tools that make implementing secure deletion straightforward.


What We’ll Build

By the end of this lesson, every auction listed in the All Auctions page will include a Delete link.

The workflow will look like this:

  1. Administrator clicks Delete.
  2. A confirmation dialog appears.
  3. Clicking Cancel stops the process.
  4. Clicking OK sends a secure request.
  5. The selected auction is removed from the database.
  6. The administrator is redirected back to the auction list with a success message.

Step 1 — Create a Delete Method in the Auction Manager

Inside:

includes/class-auction-manager.php

we’ll add a new method named:

delete_auction( $auction_id )

This method will use WordPress’s $wpdb->delete() function to remove a single auction based on its ID.

Keeping database operations inside the Auction Manager keeps our plugin organized and follows the same architecture we’ve used for creating and updating auctions.


Step 2 — Handle Delete Requests

Next, we’ll open:

admin/class-admin-posts.php

and register another admin action.

Instead of processing form submissions, this action will process delete requests coming from the auction list.

The handler will:

  • verify the nonce
  • validate the auction ID
  • call delete_auction()
  • redirect back to the auction list

Separating request handling from database logic keeps the code easier to maintain.


Step 3 — Add Delete Links to the Auction Table

Our WP_List_Table currently displays an Edit action for every auction.

We’ll modify the Actions column so that every row displays:

Edit | Delete

The Delete link will include:

  • auction ID
  • WordPress nonce
  • delete action

This allows WordPress to verify that the request genuinely originated from an authorized administrator.


Step 4 — Display a Confirmation Dialog

Even administrators sometimes click the wrong link.

To prevent accidental deletions, we’ll attach a simple JavaScript confirmation dialog.

When the administrator clicks Delete, WordPress will ask:

Are you sure you want to delete this auction?

Selecting Cancel aborts the request.

Selecting OK continues with the deletion.

This small addition greatly improves the user experience while reducing accidental mistakes.


Why WordPress Uses Nonces for Delete Operations

Imagine an administrator is logged into WordPress and unknowingly visits a malicious website.

Without nonce protection, that website could secretly trigger requests that delete auctions from your plugin.

A WordPress nonce ensures that delete requests originate from your own plugin and are intentionally initiated by the administrator.

Although nonces are not passwords or encryption keys, they provide an important layer of protection against Cross-Site Request Forgery (CSRF) attacks.


Expected Result

Once this lesson is complete, the All Auctions page will look similar to this:

Auction IDListingStatusActions
1222DraftEdit | Delete
255ActiveEdit | Delete
3108ClosedEdit | Delete

Clicking Delete will display a confirmation dialog before permanently removing the auction.


What You’ll Learn

By completing this lesson, you’ll understand:

  • How to delete database records using $wpdb->delete()
  • How WordPress processes admin actions
  • Why delete operations require nonces
  • How to generate secure action links
  • How to redirect after completing an operation
  • How to improve usability with confirmation dialogs

Coming Up Next

In Lesson 23, we’ll make the auction management screen much more powerful by adding search, sorting, filtering, and pagination to our custom WP_List_Table. These features become essential as the number of auctions grows, helping administrators quickly locate and manage specific records.


Conclusion

With the addition of secure deletion, our auction plugin will support the complete set of CRUD operations—Create, Read, Update, and Delete. More importantly, we’ll implement this functionality using WordPress coding standards and security best practices, laying the foundation for a robust and production-ready auction management system.

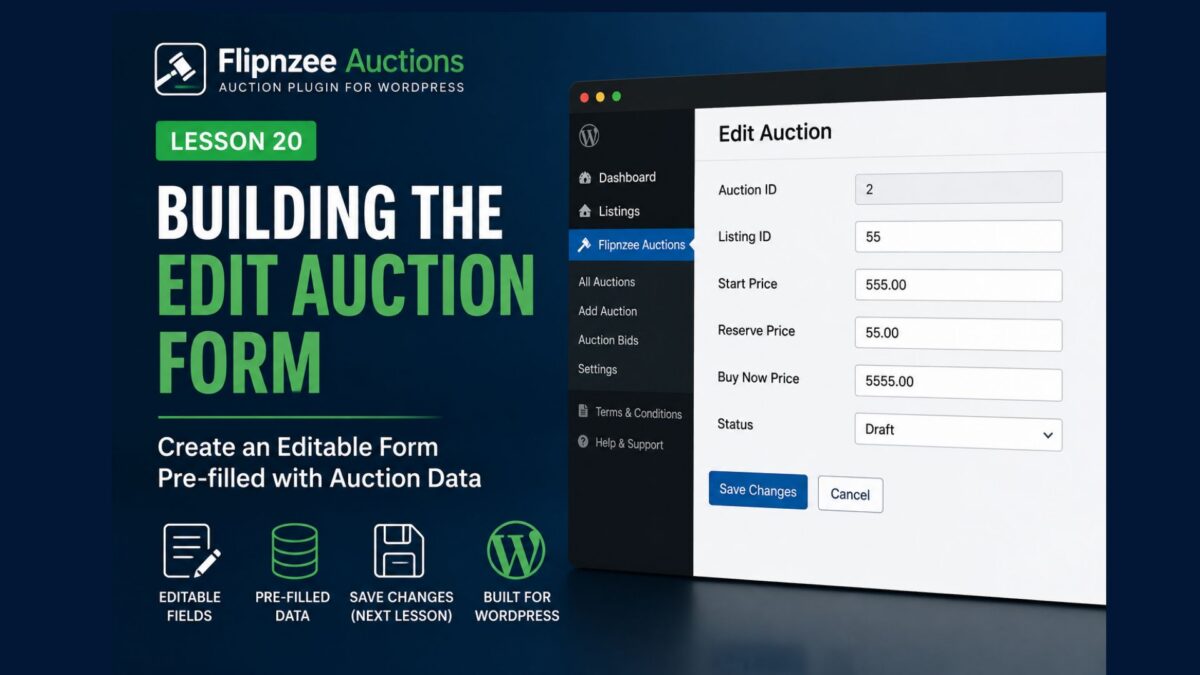
Lesson 20: Building the Edit Auction Form

In the previous lesson, we successfully created an Edit Auction page and retrieved the selected auction from the database. When an administrator clicked the Edit link, the plugin displayed the auction’s current information.

Although this proved that our retrieval logic worked correctly, the page was still read-only. In this lesson, we’ll replace the information table with a fully editable form whose fields are automatically populated with the auction’s existing values.

This approach mirrors how WordPress edits posts, pages, users, and many other objects. Administrators see the current values, make changes, and then save them.


Learning Objectives

By the end of this lesson you will be able to:

  • Build an editable administration form.
  • Pre-populate form fields with database values.
  • Display existing auction information inside HTML inputs.
  • Create the foundation for updating auctions in the next lesson.

Current Workflow

Our current workflow is:

All Auctions
      ↓
Click Edit
      ↓
Retrieve Auction
      ↓
Display Read-only Table

After today’s lesson it becomes:

All Auctions
      ↓
Click Edit
      ↓
Retrieve Auction
      ↓
Editable Form
      ↓
Save Changes (Next Lesson)

Step 1 – Locate the Edit Auction Page

Open:

admin/class-admin.php

Locate the method:

public function edit_auction_page()

Inside the method you’ll find a table displaying the auction details.


Step 2 – Replace the Table with a Form

Replace the existing table with the following form:

<form method="post">

	<table class="form-table">

		<tr>

			<th scope="row">
				<label for="listing_id">Listing ID</label>
			</th>

			<td>
				<input
					type="number"
					id="listing_id"
					name="listing_id"
					value="<?php echo esc_attr( $auction->listing_id ); ?>"
					required
					class="regular-text"
				>
			</td>

		</tr>

		<tr>

			<th scope="row">
				<label for="start_price">Start Price</label>
			</th>

			<td>
				<input
					type="number"
					step="0.01"
					id="start_price"
					name="start_price"
					value="<?php echo esc_attr( $auction->start_price ); ?>"
					class="regular-text"
				>
			</td>

		</tr>

		<tr>

			<th scope="row">
				<label for="reserve_price">Reserve Price</label>
			</th>

			<td>
				<input
					type="number"
					step="0.01"
					id="reserve_price"
					name="reserve_price"
					value="<?php echo esc_attr( $auction->reserve_price ); ?>"
					class="regular-text"
				>
			</td>

		</tr>

		<tr>

			<th scope="row">
				<label for="buy_now_price">Buy Now Price</label>
			</th>

			<td>
				<input
					type="number"
					step="0.01"
					id="buy_now_price"
					name="buy_now_price"
					value="<?php echo esc_attr( $auction->buy_now_price ); ?>"
					class="regular-text"
				>
			</td>

		</tr>

		<tr>

			<th scope="row">
				<label for="status">Status</label>
			</th>

			<td>

				<select
					name="status"
					id="status"
				>

					<option value="draft" <?php selected( $auction->status, 'draft' ); ?>>
						Draft
					</option>

					<option value="active" <?php selected( $auction->status, 'active' ); ?>>
						Active
					</option>

					<option value="closed" <?php selected( $auction->status, 'closed' ); ?>>
						Closed
					</option>

				</select>

			</td>

		</tr>

	</table>

	<?php submit_button( 'Save Changes' ); ?>

</form>

Notice that every input field uses the current auction value. This allows administrators to modify existing information instead of re-entering everything.


Step 3 – Test the Plugin

Create a fresh ZIP and upload the updated plugin.

Navigate to:

Flipnzee Auctions → All Auctions

Click Edit.

Instead of a read-only table you should now see an editable form containing:

  • Listing ID
  • Start Price
  • Reserve Price
  • Buy Now Price
  • Status

The Save Changes button will appear but won’t update the database yet. We’ll implement that functionality in the next lesson.


Why Build the Form First?

Professional software development often separates the user interface from the data processing logic.

Today’s lesson focuses entirely on presenting editable fields.

The next lesson will focus on validating user input and updating the database.

Separating these concerns makes the code easier to understand, test, and maintain.


Lesson Summary

In this lesson we transformed the Edit Auction page from a read-only display into an editable administration form.

Each input field is automatically populated using data retrieved from the database, allowing administrators to modify auction information without retyping existing values.

Although the Save Changes button is now visible, it does not yet perform any updates. That functionality will be implemented in the next lesson.


Key Takeaways

  • Editable forms improve administrator usability.
  • Existing values should always be pre-populated.
  • esc_attr() safely outputs values inside HTML attributes.
  • Building the interface before processing simplifies development.

Common Mistakes

  • Forgetting to pre-populate form values.
  • Using echo without esc_attr() inside HTML attributes.
  • Omitting the Status dropdown.
  • Trying to update the database before the form is complete.

Git Commands Used

git add .

git commit -m "Lesson 20: Build Edit Auction form"

git push

Testing Checklist

Before moving to the next lesson, verify that:

  • ✅ The plugin activates successfully.
  • ✅ The Edit page opens correctly.
  • ✅ All fields contain the current auction values.
  • ✅ Status is selected correctly.
  • ✅ The Save Changes button appears.
  • ✅ No PHP errors occur.

Project Status

✅ Dashboard

✅ Add Auction

✅ Save Auction

✅ View Auctions

✅ WP_List_Table

✅ Row Actions

✅ Edit Auction Page

✅ Edit Auction Form

⬜ Update Auction

⬜ Delete Auction

⬜ Bid Engine

⬜ Escrow Workflow

Developer’s Notebook

Creating the editing interface before implementing database updates follows a common development pattern. It allows you to verify that data retrieval and presentation work correctly before adding validation and persistence logic. This incremental approach also makes debugging significantly easier because each lesson introduces only one major concept.

Lesson 19: Creating the Edit Auction Page

Introduction

In the previous lesson, we enhanced our auction list by adding View, Edit, and Delete row actions beneath each Auction ID. Although these links improved the user interface, they were only placeholders.

In this lesson, we’ll make the Edit action functional by creating a dedicated Edit Auction page inside the WordPress administration area. Initially, this page will retrieve an auction from the database and display its existing information in a form. We’ll save the changes in the next lesson.

Breaking the workflow into two lessons makes it easier to understand and follows the same incremental approach we’ve used throughout this series.


Learning Objectives

By the end of this lesson, you’ll be able to:

  • Build an Edit Auction administration page.
  • Pass an auction ID through a URL.
  • Retrieve a single auction from the database.
  • Populate a form with existing values.
  • Understand how editing workflows begin in WordPress plugins.

How the Workflow Changes

Our administration flow now becomes:

All Auctions
      ↓
Click Edit
      ↓
Edit Auction Page
      ↓
Retrieve Auction
      ↓
Display Existing Values

Notice that we’re still not saving changes yet. Today’s goal is to display the current data.


Step 1 – Update the Edit Row Action

Open:

admin/class-auctions-table.php

Locate the column_id() method.

Replace the Edit action with:

'edit' => sprintf(
	'<a href="%s">Edit</a>',
	admin_url(
		'admin.php?page=flipnzee-edit-auction&auction_id=' . absint( $item->id )
	)
),

Now every Edit link will open the correct auction.


Step 2 – Register a New Submenu

Open:

admin/class-admin.php

Inside register_menu(), add another submenu:

add_submenu_page(
	'flipnzee-auctions',
	'Edit Auction',
	'Edit Auction',
	'manage_options',
	'flipnzee-edit-auction',
	array( $this, 'edit_auction_page' )
);

This page won’t normally appear in the menu because administrators will access it through the Edit link.


Step 3 – Create the Edit Page

Inside class-admin.php, create:

public function edit_auction_page() {

	$auction_id = isset( $_GET['auction_id'] )
		? absint( $_GET['auction_id'] )
		: 0;

	$auction = Flipnzee_Auction_Manager::get_auction(
		$auction_id
	);

	if ( ! $auction ) {

		echo '<div class="notice notice-error"><p>Auction not found.</p></div>';

		return;
	}

	?>

	<div class="wrap">

		<h1>Edit Auction</h1>

		<p>The auction was loaded successfully.</p>

	</div>

	<?php
}

At this stage, we’re simply verifying that the selected auction can be retrieved.


Step 4 – Test the Plugin

Create a fresh ZIP.

Upload the plugin.

Navigate to:

Flipnzee Auctions → All Auctions

Click Edit beneath any auction.

If everything is working correctly, you’ll see:

Edit Auction

The auction was loaded successfully.

This confirms that:

  • The row action works.
  • The auction ID is passed correctly.
  • The Auction Manager retrieves the correct record.
  • The administration page loads successfully.

Why Stop Here?

Many beginners try to retrieve, display, validate, and save data in a single lesson.

Breaking the process into smaller steps makes debugging much easier.

Today we verify that the correct auction is loaded.

In the next lesson, we’ll build the complete editing form.


Lesson Summary

In this lesson, we transformed the placeholder Edit link into a working navigation path.

Administrators can now select an auction from the list, open an Edit Auction page, and retrieve the corresponding record from the database.

Although editing isn’t complete yet, we’ve successfully implemented the first half of the editing workflow.


Key Takeaways

  • ✓ Row actions can pass record IDs through URLs.
  • ✓ Retrieve individual records using the Auction Manager.
  • ✓ Separate retrieval from saving.
  • ✓ Build editing workflows incrementally.

Common Mistakes

  • Forgetting to sanitize the auction ID.
  • Accessing the database directly instead of using the Auction Manager.
  • Assuming every ID exists.
  • Trying to save changes before displaying the existing values.

Git Commands Used

git add .

git commit -m "Lesson 19: Create Edit Auction page"

git push

Testing Checklist

Before continuing:

  • ✅ Plugin activates successfully.
  • ✅ All Auctions page still loads.
  • ✅ Every Edit link opens a new page.
  • ✅ Correct auction ID is passed.
  • ✅ Auction record is retrieved successfully.
  • ✅ “Auction not found” appears only for invalid IDs.

Project Status

✅ Dashboard

✅ Add Auction

✅ Save Auctions

✅ View Auctions

✅ WP_List_Table

✅ Row Actions

✅ Edit Auction Page

⬜ Edit Auction Form

⬜ Save Edited Auction

⬜ Delete Auction

⬜ Bid Engine

⬜ Escrow Workflow

Project Evolution

With the introduction of the Edit Auction page, Flipnzee Auctions now supports navigation from a list of records to an individual record. This pattern is common in many WordPress plugins and content management systems. By retrieving a single auction before attempting to modify it, we’ve established a clean editing workflow that can be expanded safely in future lessons.


Developer’s Notebook

Professional applications rarely perform retrieval, validation, and persistence in one step. Separating these responsibilities improves readability, simplifies testing, and makes future enhancements much easier. Today’s lesson focuses entirely on retrieving the correct record, allowing the next lesson to concentrate solely on editing and saving changes.