Lesson 41: Displaying Verified Analytics on Auction Cards

One of Flipnzee’s biggest advantages over traditional website marketplaces is that every listing can display verified Google Analytics and Google Search Console data. Instead of asking buyers to trust screenshots or seller claims, Flipnzee can present real performance metrics directly from the website owner.

In this lesson, we’ll begin displaying selected analytics directly on each auction card, giving buyers valuable insights before they even open the full listing page.


Why Show Analytics on the Auction Card?

Most website marketplaces display only basic information:

  • Website name
  • Asking price
  • Category
  • Description

A buyer must open each listing individually before discovering whether the website actually has visitors.

Flipnzee can do better.

Since each listing already has verified analytics available through the Flipnzee Analytics plugin, we can surface the most important metrics directly within the marketplace.


The Buyer Experience

Imagine browsing dozens of websites for sale.

Instead of seeing this:

Calnzee.com

Start Price: $111
Current Bid: $0
Buy Now: $333

buyers will see something like:

Calnzee.com

✔ Google Verified Analytics

👥 Users...............210
📈 Sessions...........443
🔍 Impressions.......555

Start Price..........$111
Current Bid...........$0
Buy Now..............$333

Within seconds, buyers can identify listings that are already attracting visitors.


Why This Is Different

Many marketplace platforms rely entirely on information entered manually by the seller.

That means buyers often wonder:

  • Are these traffic numbers genuine?
  • Were the screenshots edited?
  • Is the data recent?

Flipnzee takes a different approach.

Analytics are pulled automatically from the connected Google Analytics and Google Search Console properties, helping reduce reliance on manually entered statistics.


Which Metrics Should Be Displayed?

The goal is not to overwhelm visitors with dozens of statistics.

Instead, show only a few headline metrics.

A good starting point is:

  • Users
  • Sessions
  • Google Impressions

These three values provide a quick overview of a website’s activity and search visibility.

The complete analytics dashboard remains available on the individual listing page.


Keep the Auction Card Simple

Think of the auction card as a preview.

It should answer one question:

“Is this listing worth opening?”

If the answer is yes, the visitor clicks View Listing to explore the complete analytics dashboard.

This creates a natural flow:

Marketplace

↓

Auction Card

↓

Listing Page

↓

Verified Analytics

↓

Place Bid

Avoid Information Overload

Showing every available metric on the auction card would make it difficult to scan.

For example, displaying all of these at once would quickly become cluttered:

  • Users
  • Sessions
  • Returning Visitors
  • Average Session Duration
  • Pages per User
  • Live Users
  • Countries
  • Cities
  • Keywords
  • Traffic Sources
  • Impressions
  • Clicks
  • Indexed Pages

Instead, the marketplace should provide a concise summary, while the listing page remains the place for detailed analysis.


Future Enhancements

As Flipnzee evolves, additional indicators can be introduced without overcrowding the card.

Examples include:

  • Google Verified badge
  • Live visitors indicator
  • Growth percentage
  • Auction ending soon badge
  • Recently updated analytics timestamp
  • Mobile-friendly metric icons

These enhancements can gradually enrich the browsing experience while keeping the interface clean.


What We Learned

One of Flipnzee’s strongest competitive advantages is its ability to present verified website performance, not just seller-provided descriptions.

By displaying a few key analytics directly on the auction card, buyers can evaluate listings more quickly and confidently, while the full listing page continues to provide comprehensive insights.

This approach helps transform the marketplace from a simple directory of websites into a data-driven platform where informed decisions can be made at a glance.


Next Lesson

In Lesson 41 (Implementation), we’ll modify the auction card shortcode to retrieve selected metrics from the connected Flipnzee Analytics plugin and display them alongside the auction details, creating the first analytics-powered marketplace cards.
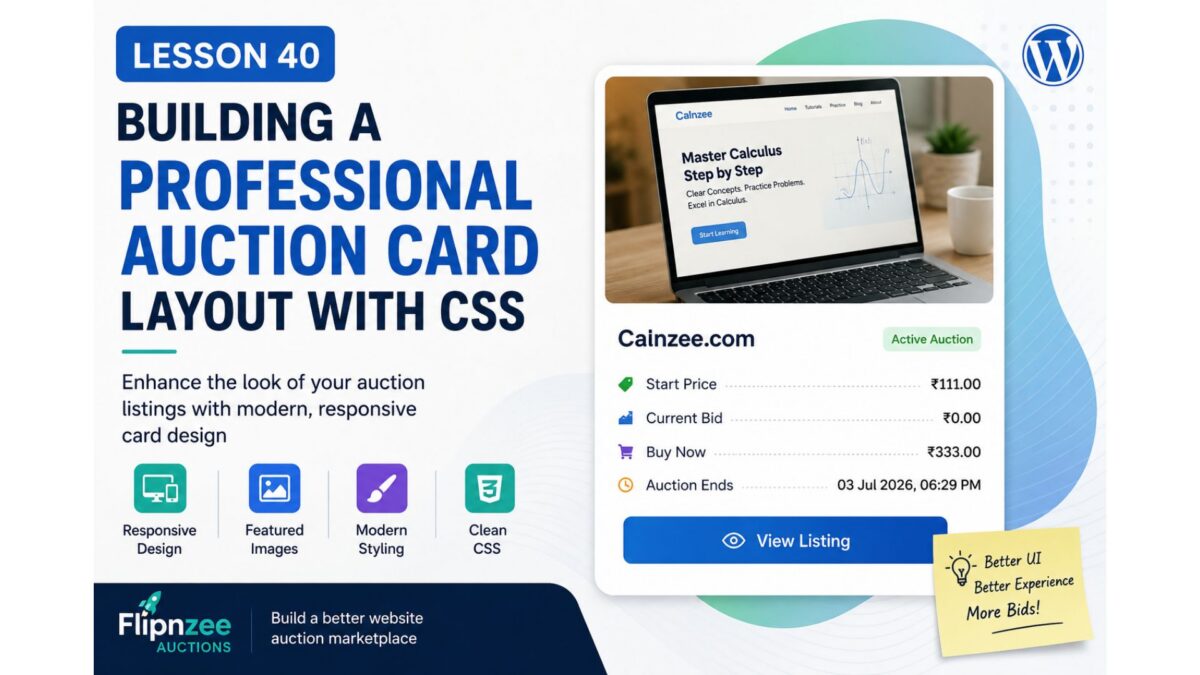

Lesson 40: Building a Professional Auction Card Layout with CSS

In the previous lesson, we transformed our auction listings from plain database records into meaningful website listings by displaying the Listing title, featured image, placeholder image, and a direct link to the Listing page.

Although the auction now contains all the essential information, its appearance is still fairly basic. The next logical step is to improve the user interface so visitors can browse auctions more comfortably and the marketplace begins to resemble a modern website sales platform.

In this lesson, we’ll focus entirely on presentation by styling our auction cards with CSS while keeping the underlying PHP logic unchanged.


What You’ll Learn

By the end of this lesson, you’ll know how to:

  • Style plugin output using a dedicated CSS file.
  • Improve the appearance of auction cards.
  • Make featured images responsive.
  • Add spacing and padding for better readability.
  • Create modern card layouts using borders, shadows, and rounded corners.
  • Improve typography and button styling.
  • Build a responsive layout that works well on desktops, tablets, and mobile devices.

Why This Matters

At the moment, an auction looks something like this:

+--------------------------------------+
| Screenshot                           |
|                                      |
| Calnzee.com                          |
|                                      |
| Start Price: ₹111                    |
| Current Bid: ₹0                      |
| Buy Now: ₹333                        |
| Status: Active                       |
| Auction Ends: 03 Jul 2026            |
|                                      |
| View Listing                         |
+--------------------------------------+

While functional, this still resembles a collection of HTML elements rather than a professional marketplace.

After completing this lesson, the goal is to achieve something closer to:

+--------------------------------------------------+
|               Website Screenshot                 |
|                                                  |
| Calnzee.com                                      |
|--------------------------------------------------|
| Start Price .............. ₹111                 |
| Current Bid .............. ₹0                   |
| Buy Now .................. ₹333                 |
| Auction Ends ............. 03 Jul 2026          |
|                                                  |
|            [ View Listing ]                      |
+--------------------------------------------------+

The cleaner presentation improves readability and creates a much stronger first impression for potential buyers.


Concepts Covered

During this lesson we’ll explore:

  • CSS organization for WordPress plugins
  • Responsive images
  • Card-based layouts
  • Padding and margins
  • Borders and border radius
  • Box shadows
  • Typography improvements
  • Button styling
  • Responsive design fundamentals

Implementation Steps

We’ll implement the lesson gradually:

  1. Style the auction card container.
  2. Make featured images responsive.
  3. Improve spacing between elements.
  4. Style headings and auction details.
  5. Enhance the “View Listing” button.
  6. Remove unnecessary visual clutter.
  7. Improve alignment of auction information.
  8. Add responsive styling for smaller screens.
  9. Test the layout on different devices.

Files We’ll Modify

assets/css/frontend.css

Only minor HTML adjustments may be made if required.

No database changes are required.


Difficulty Level

Intermediate

This lesson focuses primarily on frontend development and demonstrates how separating presentation from business logic leads to cleaner, more maintainable plugins.


Best Practices

Throughout this lesson we’ll continue following WordPress development best practices:

  • Keep PHP focused on generating HTML.
  • Place all presentation rules inside CSS.
  • Use reusable CSS classes.
  • Avoid inline styles.
  • Design with responsiveness in mind.
  • Improve the user experience without changing plugin functionality.

What You’ll Gain

After completing this lesson, your auction listings will no longer look like simple collections of database fields. Instead, they’ll resemble professional marketplace cards that are visually appealing, easier to browse, and ready for future enhancements such as countdown timers, bidding buttons, analytics badges, and seller information.

This lesson also establishes the visual foundation for future integration between the Flipnzee Auctions plugin and the Flipnzee Analytics plugin, allowing auction cards to evolve into rich previews of each website while keeping the detailed analytics available on the corresponding Listing page.

In the implementation that follows, we’ll enhance the stylesheet step by step and transform our auction cards into a polished marketplace interface without altering the underlying auction logic.

Lesson 39: Display Website Titles and Featured Images in the Auction Shortcode

After successfully displaying active auctions on the frontend in Lesson 38, our auction listings are still very plain. Visitors only see the Listing ID and auction details, which isn’t how a professional marketplace should look.

In this lesson, we’ll connect each auction to its corresponding WordPress Listing post and display the website’s title and featured image. This is an important milestone because our auction page will begin to resemble a real website marketplace instead of a simple database report.


What You’ll Learn

By the end of this lesson, you’ll know how to:

  • Retrieve the Listing post associated with an auction.
  • Display the website title instead of the Listing ID.
  • Show the Listing’s featured image.
  • Handle missing images gracefully.
  • Improve the overall appearance of the auction listing.

Why This Matters

Currently, visitors see something like:

Listing #2222

Start Price: ₹333

Current Bid: ₹0

Buy Now: ₹4,444,444

A professional marketplace should instead display something like:

+-------------------------------------------+
| [Featured Image]                          |
|                                           |
| MyBusinessSite.com                        |
|                                           |
| Start Price: ₹333                         |
| Current Bid: ₹0                           |
| Buy Now: ₹4,444,444                       |
| Auction Ends: 25 Jul 2026                 |
+-------------------------------------------+

This makes the auction much easier to browse.


Concepts Covered

In this lesson we’ll learn about:

  • get_post()
  • get_the_title()
  • has_post_thumbnail()
  • get_the_post_thumbnail()
  • Escaping output
  • Building reusable HTML

Implementation Steps

We will implement the lesson step by step:

  1. Retrieve the Listing post using listing_id.
  2. Verify the Listing exists.
  3. Display the website title.
  4. Display the featured image.
  5. Keep auction information below the image.
  6. Add basic HTML structure.
  7. Test the shortcode.

Expected Output

Instead of this:

Listing #2222
Start Price: 333
Current Bid: 0

Visitors will see something like:

[ Website Screenshot ]

MyBusinessSite.com

Start Price: ₹333
Current Bid: ₹0
Buy Now: ₹4,444,444
Auction Ends: 25 Jul 2026

Files We’ll Modify

  • includes/class-shortcodes.php

No database changes are required in this lesson.


Difficulty Level

Intermediate

This lesson introduces interaction between custom database tables and native WordPress posts, a common pattern in WordPress plugin development.


What You’ll Gain

By completing this lesson, you’ll move beyond simply displaying raw auction data. Your shortcode will start presenting auctions as attractive website listings, laying the foundation for future enhancements such as bidding buttons, countdown timers, reserve price indicators, seller information, and responsive auction cards.

In the next implementation, we’ll enhance the frontend so each auction begins to look like a polished marketplace listing rather than a collection of database fields.

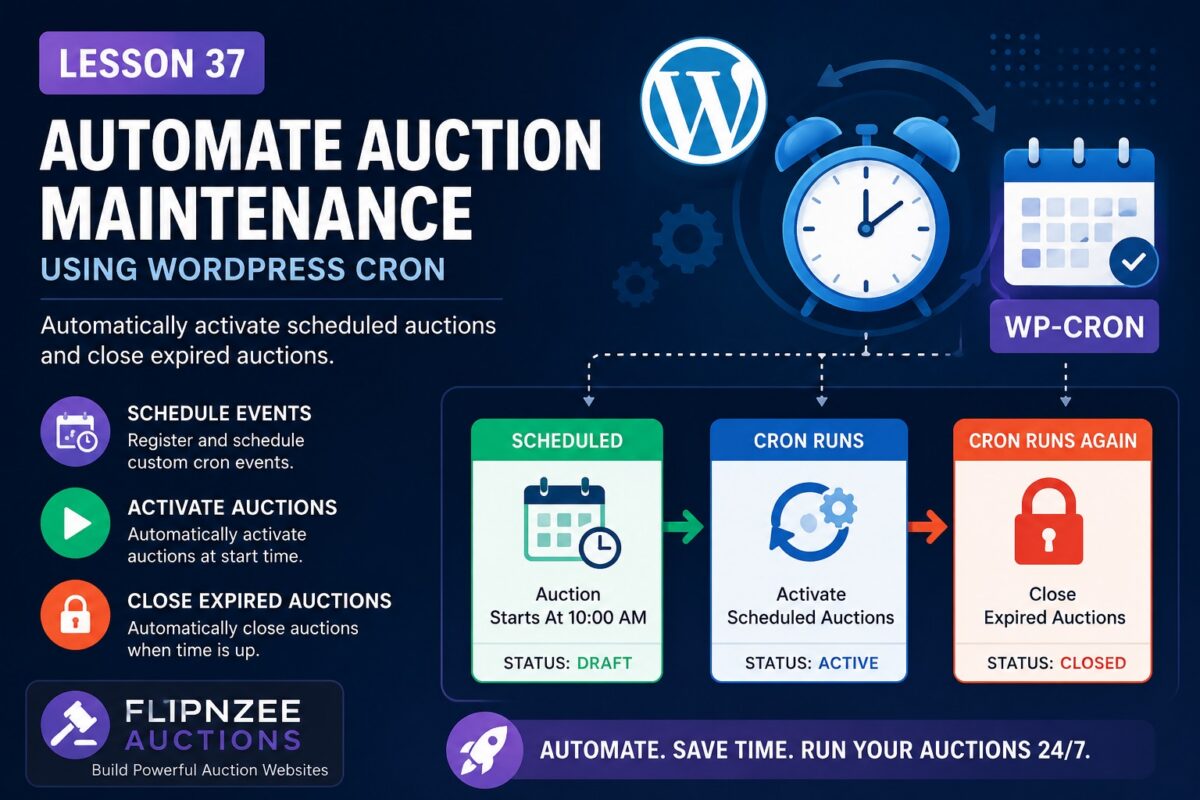
Lesson 37: Automatically Run Auction Maintenance Using WordPress Cron

What You’ll Learn

In this lesson, you’ll replace the manual workflow with automatic background processing using WordPress’s built-in Cron system.

By the end of this lesson, your plugin will:

  • Register a custom scheduled event on plugin activation.
  • Schedule the event if it doesn’t already exist.
  • Execute auction maintenance automatically every few minutes (or hourly in production).
  • Activate scheduled auctions automatically.
  • Close expired auctions automatically.
  • Unschedule the event when the plugin is deactivated.

Topics Covered

  • Understanding WP-Cron
  • Registering scheduled events
  • Using wp_next_scheduled()
  • Using wp_schedule_event()
  • Creating custom cron hooks
  • Hooking your auction manager into the scheduler
  • Cleaning up scheduled events on plugin deactivation

Files We’ll Modify

flipnzee-auctions.php
includes/class-loader.php
includes/class-auction-manager.php

New Features

Instead of clicking:

Activate Scheduled Auctions

or

Close Expired Auctions

the plugin will quietly do this itself whenever WordPress Cron runs.

Administrators will simply create auctions and let the plugin manage their lifecycle automatically.


Expected Workflow

Auction Created
        │
        ▼
Status = Draft
        │
        ▼
Scheduled Start Time Arrives
        │
        ▼
WordPress Cron Runs
        │
        ▼
Status → Active
        │
        ▼
Auction End Time Arrives
        │
        ▼
WordPress Cron Runs Again
        │
        ▼
Status → Closed

This is the same architecture used by many production WordPress plugins that perform background maintenance.


Prerequisites

Before starting this lesson, ensure you have completed:

  • ✅ Lesson 35 – Activate Scheduled Auctions
  • ✅ Lesson 36 – Close Expired Auctions

Estimated Difficulty

⭐⭐⭐⭐☆ (Intermediate)

This lesson introduces WordPress Cron, one of the most useful APIs for background processing in plugin development.


What You’ll Build

By the end of Lesson 37, your plugin will automatically:

  • Activate scheduled auctions.
  • Close expired auctions.
  • Run without administrator intervention.
  • Prepare the project for future features such as automatic bid processing, email notifications, and auction reminders.

Implementation Lesson 37: Automating Auction Maintenance with WordPress Cron


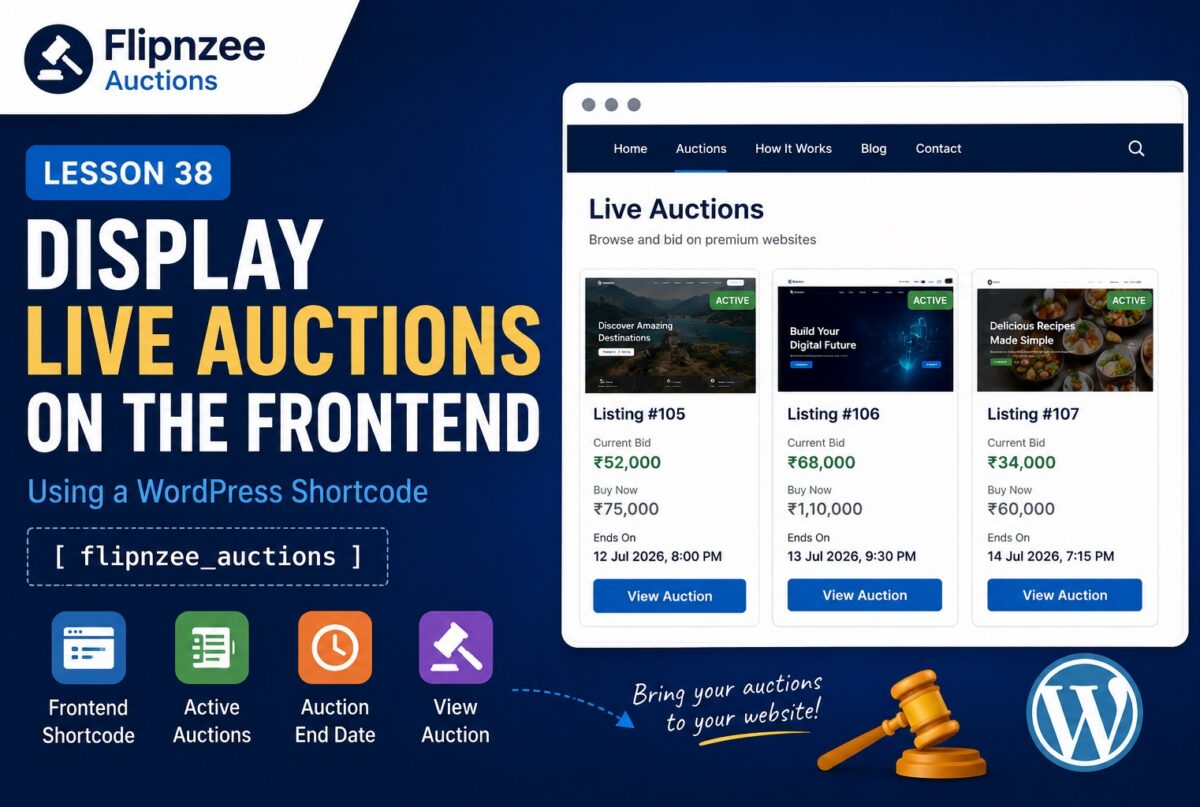
Lesson 38: Display Live Auctions on the Frontend Using a WordPress Shortcode


So far, every feature we’ve built has been available only to WordPress administrators.

In a real auction marketplace, however, the most important audience is not the administrator—it’s the buyers.

Visitors need a simple way to browse active auctions directly from the website.

In this lesson, we’ll create our first frontend auction shortcode.


What You’ll Build

By the end of this lesson, you’ll have a shortcode like:

[flipnzee_auctions]

that displays all active auctions on any WordPress page.


What Visitors Will See

Each auction will display:

  • Listing ID
  • Starting Price
  • Current Bid
  • Buy Now Price
  • Auction Status
  • Auction End Date
  • View Auction button

Example:

---------------------------------------
Listing #105

Current Bid
₹52,000

Buy Now
₹75,000

Ends
12 Jul 2026

Status
Active

[ View Auction ]
---------------------------------------

Why Use a Shortcode?

Shortcodes are one of the simplest ways to expose plugin functionality on the frontend.

Advantages include:

  • Works with Gutenberg
  • Works with Classic Editor
  • Works with Genesis
  • Can be inserted anywhere
  • Easy to extend later

Our First Frontend Query

Instead of retrieving every auction, we’ll display only:

Status = Active

This keeps the marketplace clean and prevents visitors from seeing:

  • Draft auctions
  • Closed auctions

Architecture

Visitor
      │
      ▼
Shortcode
      │
      ▼
Auction Manager
      │
      ▼
Database
      │
      ▼
Active Auctions
      │
      ▼
HTML Output

Notice how we’re reusing our Auction Manager instead of writing SQL directly inside the shortcode.


Files We’ll Modify

includes/class-auction-manager.php
includes/class-shortcodes.php

(new file)

flipnzee-auctions.php

New Shortcode

We’ll register:

[flipnzee_auctions]

Later we’ll extend it with parameters like:

[flipnzee_auctions limit="12"]
Website Preview Unavailable
Live Auction

Trending

Start Price $100
Current Bid $0
Highest Bidder No bids yet
Buy Now $500
Auction Ends Loading...

Bid History

No bids have been placed yet.

Please to place a bid.

View Listing


Website Preview Unavailable
Live Auction

Trending

Start Price $100
Current Bid $0
Highest Bidder No bids yet
Buy Now $500
Auction Ends Loading...

Bid History

No bids have been placed yet.

Please to place a bid.

View Listing


Design Goals

Initially we’ll keep the layout simple.

Each auction will appear inside a clean card showing:

  • Listing ID
  • Prices
  • Status
  • End Date

Styling will be improved in future lessons.


Production Benefits

Adding a frontend shortcode is an important milestone because it transforms the plugin from an administrative tool into a real auction platform.

For the first time:

  • Administrators create auctions.
  • Visitors can discover them.
  • The auction system becomes visible on the public website.

What You’ll Learn

In this lesson you’ll learn how to:

  • Register WordPress shortcodes
  • Retrieve database records for the frontend
  • Generate HTML safely
  • Escape output correctly
  • Separate business logic from presentation
  • Prepare your plugin for bidding functionality

What’s Next?

In the next lesson, we’ll build the Single Auction View, where visitors can click View Auction to see detailed information, a live countdown timer, bid history, and eventually place bids.

This will be the foundation for the public-facing bidding experience and the future Escrow.com transaction workflow.

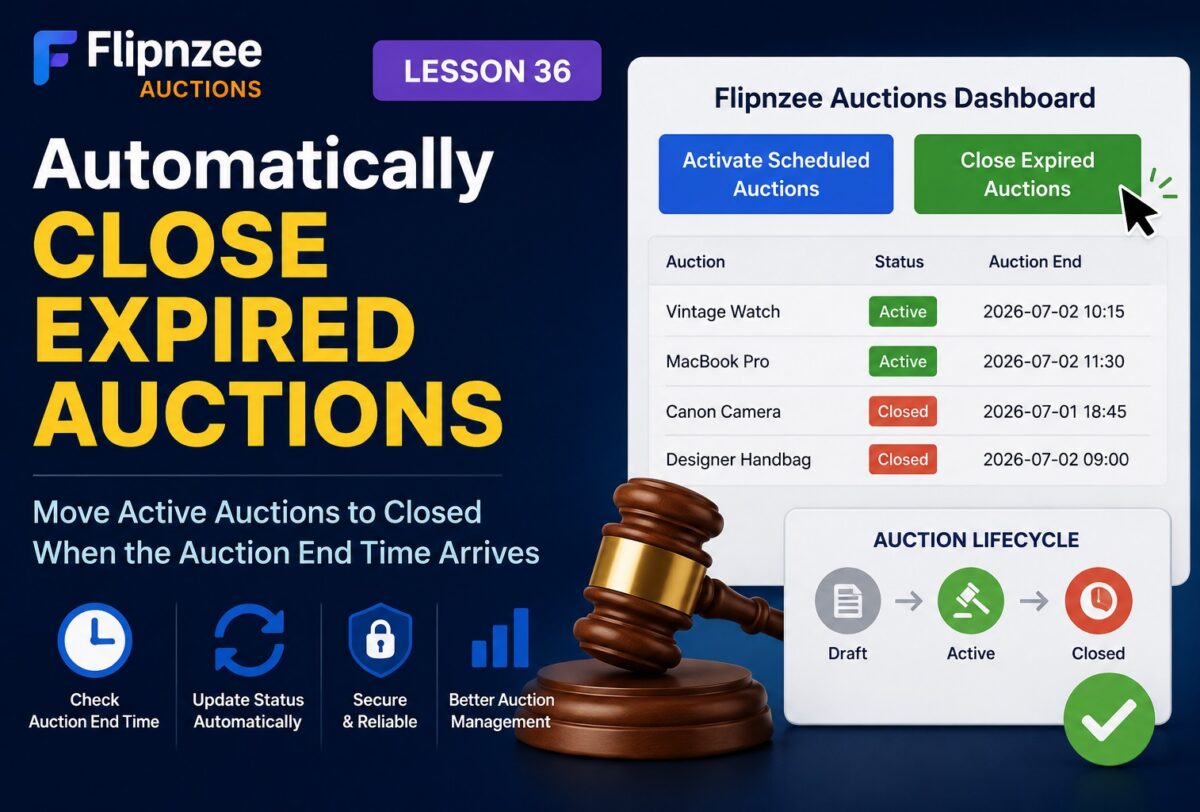
Lesson 36: Automatically Close Expired Auctions in the Flipnzee Auctions Plugin

In the previous lesson, we implemented the ability to manually activate auctions whose scheduled start time had arrived. That completed the first half of the auction lifecycle.

Now it’s time to implement the second half.

When an auction reaches its scheduled end time, it should no longer accept bids. Instead, it should automatically move from Active to Closed.

In this lesson, we’ll build the first version of that functionality using a manual administrator action. Later, we’ll automate the entire process using WP-Cron.


What You Will Learn

By the end of this lesson, you will know how to:

  • Create a function to close expired auctions.
  • Update multiple auctions using a single SQL query.
  • Add a “Close Expired Auctions” button to the dashboard.
  • Secure administrator actions using WordPress nonces.
  • Display success messages after processing.
  • Prepare your plugin for automatic auction management.

Why Closing Auctions Matters

Every auction platform needs a clearly defined lifecycle.

Draft
   │
   ▼
Active
   │
Auction End Reached
   ▼
Closed

Once an auction is closed:

  • No more bids should be accepted.
  • The winner can be determined.
  • Escrow payment can begin.
  • Ownership transfer can be initiated.

Without a closing mechanism, auctions would remain active indefinitely.


What We Will Build

We’ll implement a new manager function:

Flipnzee_Auction_Manager::close_expired_auctions();

This function will:

  • Find auctions where:
    • Status = Active
    • Auction End has passed
  • Update their status to:
closed

Dashboard Improvements

The Flipnzee Auctions dashboard will receive another administrator tool.

Activate Scheduled Auctions

Close Expired Auctions

This allows administrators to manually manage the auction lifecycle during development.


Security

Like previous admin actions, this feature will include:

  • Capability checks
  • WordPress nonces
  • Safe redirects
  • Administrator-only access

Following WordPress security best practices keeps the plugin production-ready.


Why Manual Closing First?

Eventually, this process should happen automatically.

However, implementing manual closing first offers several advantages:

  • Easier debugging
  • Faster testing
  • Immediate verification
  • No dependency on scheduled cron events

This incremental approach reduces complexity while ensuring each component works correctly.


Database Changes

No database changes are required.

We already have everything needed:

  • Auction Status
  • Auction End
  • Current WordPress time

We’ll simply update qualifying rows.


Expected Workflow

Administrator clicks

Close Expired Auctions
        │
        ▼
Plugin checks all auctions
        │
        ▼
Auction End <= Current Time?
        │
      Yes
        │
        ▼
Status changes:
Active → Closed

Production Benefits

By completing this lesson, the plugin will support nearly the entire auction lifecycle:

  • ✅ Draft auctions
  • ✅ Scheduled auctions
  • ✅ Active auctions
  • ✅ Closed auctions

This is another major milestone toward transforming Flipnzee Auctions into a production-grade marketplace plugin.

Implementation Lesson 36: Automatically Close Expired Auctions in Flipnzee Auctions


What Comes Next?

In the next lesson, we’ll improve the administrator experience by adding auction statistics to the dashboard, including:

  • Total Auctions
  • Draft Auctions
  • Active Auctions
  • Closed Auctions
  • Scheduled Auctions

These live statistics will give administrators an instant overview of marketplace activity and prepare the dashboard for future analytics and reporting.

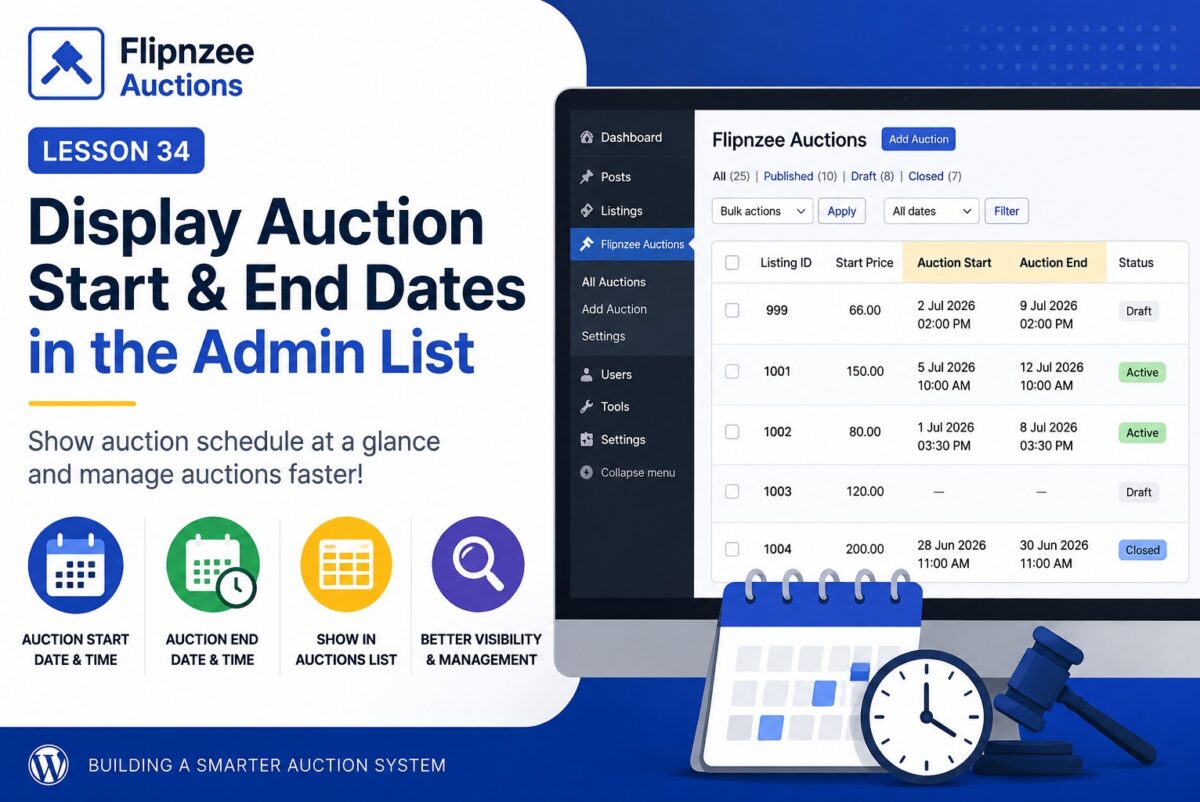
Lesson 34 – Display Auction Schedule in the Admin List


Objective

In the previous lesson, we added support for scheduling auctions. However, administrators still need to open each auction to see when it starts or ends.

In this lesson, we’ll improve the All Auctions page by displaying the auction schedule directly in the table.

By the end of this lesson, administrators will be able to see:

  • Auction Start
  • Auction End

for every auction without opening the edit screen.


What You’ll Learn

During this lesson you’ll learn how to:

  • Add new columns to a WP_List_Table
  • Display custom database fields
  • Format date and time values
  • Improve the usability of an admin interface

Why This Matters

Imagine having hundreds of auctions.

Without these columns you would need to:

  • Open Auction 1
  • Check its dates
  • Return
  • Open Auction 2
  • Check its dates
  • Repeat…

Displaying the schedule directly in the list makes auction management much faster.


Final Result

The All Auctions page will look similar to:

ListingStart PriceAuction StartAuction EndStatus
99966.002 Jul 2026 2:00 PM9 Jul 2026 2:00 PMDraft
1001150.005 Jul 2026 10:00 AM12 Jul 2026 10:00 AMActive

Implementation Plan

Step 1

Add two new columns to the auction table:

  • Auction Start
  • Auction End

Step 2

Populate both columns with values from the database.


Step 3

Format empty values nicely.

Instead of showing:

0000-00-00 00:00:00

or a blank SQL value,

display something more user-friendly:

—

or

Not Scheduled

Step 4

Format the dates for administrators.

Instead of displaying:

2026-07-02 14:30:00

display:

2 Jul 2026
2:30 PM

This is much easier to scan.


Step 5

Test sorting, searching and filtering to ensure the new columns don’t affect the existing functionality.


What You’ll Gain

After this lesson, your plugin will support:

  • ✅ Creating auctions
  • ✅ Editing auctions
  • ✅ Scheduling auctions
  • ✅ Viewing schedules directly from the auction list

This is another important step toward a production-ready auction system.

Implementation Lesson 34: Display Auction Start and End Dates in the Auctions Table


Looking Ahead

After Lesson 34, the next logical milestone is Lesson 35: Automatic Auction Lifecycle, where we’ll begin implementing the logic that automatically changes auction statuses based on the current date and time (for example, moving a scheduled auction from draft to active when its start time arrives, and from active to closed when its end time passes). This will move the plugin beyond simply storing dates and into actually using them to control auction behavior.

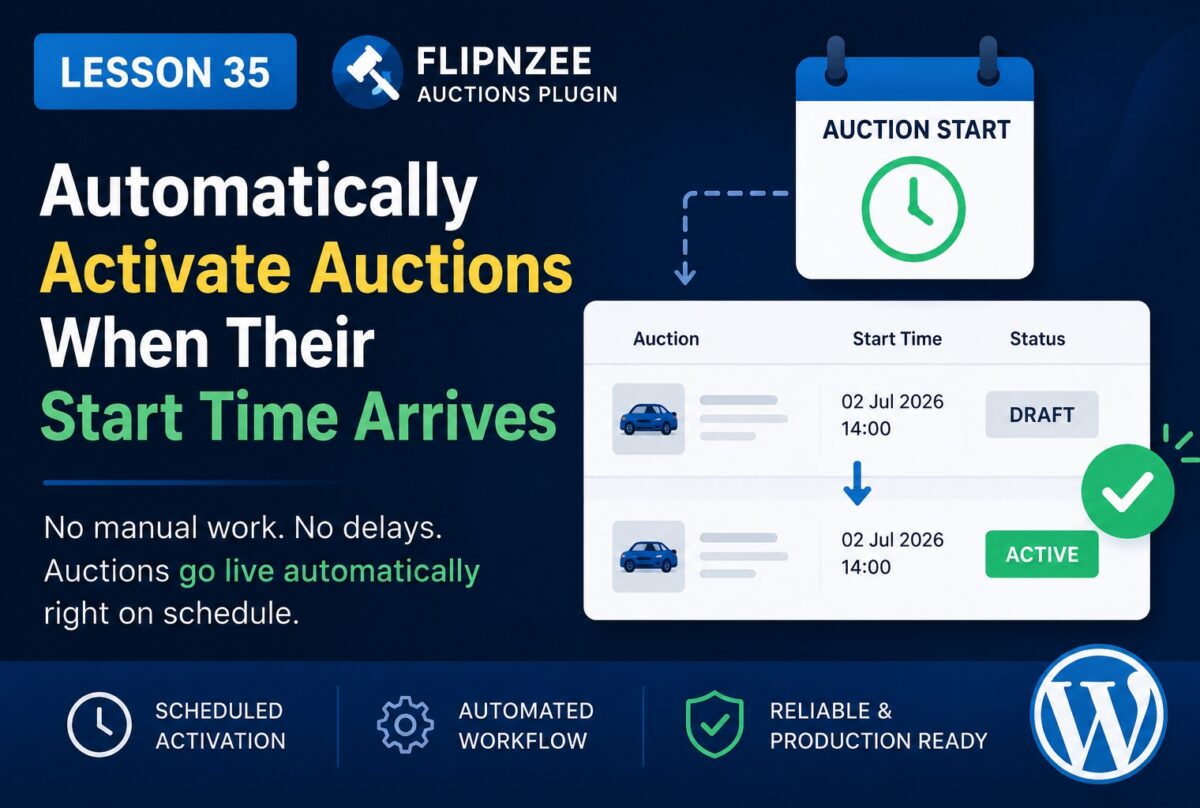
Lesson 35: Automatically Activate Auctions When Their Start Time Arrives

Over the past few lessons, we’ve transformed Flipnzee Auctions from a simple CRUD plugin into something that feels much closer to a production-ready auction system. Auctions can now store start and end dates, and those dates are visible throughout the admin interface.

However, there is still one important limitation.

Even if an auction’s scheduled start time has already passed, it remains in Draft status until an administrator manually edits it and changes the status to Active.

In a real auction platform, this would quickly become unmanageable. Administrators should not need to monitor dozens or hundreds of auctions throughout the day.

In this lesson, we’ll begin automating the auction lifecycle.


What We’ll Build

By the end of this lesson, Flipnzee Auctions will automatically activate auctions when:

  • the auction is currently Draft
  • a valid Auction Start date exists
  • the scheduled start time has already passed

No manual intervention will be required.


Why This Matters

Automation is one of the defining characteristics of a professional auction platform.

Instead of relying on administrators to remember when auctions should begin, the software makes the decision automatically.

Benefits include:

  • fewer administrative tasks
  • fewer human errors
  • auctions always start on time
  • improved buyer confidence

Understanding the Workflow

Current workflow:

Create Auction
      ↓
Status = Draft
      ↓
Administrator edits auction
      ↓
Changes status to Active

After this lesson:

Create Auction
      ↓
Status = Draft
      ↓
Scheduled start time arrives
      ↓
Plugin activates auction automatically

How WordPress Makes This Possible

WordPress includes a scheduling system called WP-Cron.

Rather than requiring access to the server’s operating system scheduler, WordPress performs scheduled tasks whenever someone visits the website.

Examples include:

  • publishing scheduled posts
  • clearing caches
  • sending emails
  • updating plugin data

We’ll use the same idea for auctions.


Our Strategy

Instead of checking every second, we’ll create a function that periodically searches for auctions that meet all of these conditions:

Status = Draft

AND

Auction Start <= Current Time

For every matching auction:

Draft
      ↓
Active

Simple, reliable, and scalable.


SQL Logic

Conceptually, our database query will look something like:

SELECT *
FROM wp_flipnzee_auctions
WHERE status = 'draft'
AND auction_start <= CURRENT_TIME;

Each returned auction will then be updated to:

status = active

Where We’ll Add the Code

To keep the plugin organized, we’ll place this functionality inside the auction manager rather than mixing business logic into the admin interface.

That keeps responsibilities separated:

  • Database → stores auction data
  • Auction Manager → controls auction lifecycle
  • Admin Pages → display forms and tables

Testing Strategy

We’ll create a draft auction with:

Start Time:
2 minutes from now

Then we’ll wait until that time passes.

Expected result:

Before:

Status
Draft

↓

After:

Status
Active

without editing the auction manually.


Future Improvements

This lesson lays the foundation for additional automation.

In upcoming lessons we’ll also automate:

  • closing auctions automatically
  • determining winners
  • preventing bids after auction ends
  • countdown timers
  • bid history
  • email notifications
  • Escrow.com integration

Each of these features will build upon the scheduling mechanism introduced here.


What You’ll Learn

In this lesson, you’ll learn how to:

  • use scheduled tasks in WordPress
  • automate changes based on time
  • update auction status programmatically
  • separate business logic from presentation logic
  • build a more production-ready auction platform

Conclusion

Manually changing auction statuses may work during early development, but it doesn’t scale for a real marketplace. By introducing automatic activation based on the scheduled start time, Flipnzee Auctions becomes significantly more autonomous and dependable.

In the next lesson, we’ll build on this automation by automatically closing auctions when their end time is reached, bringing the auction lifecycle one step closer to a fully hands-free experience.

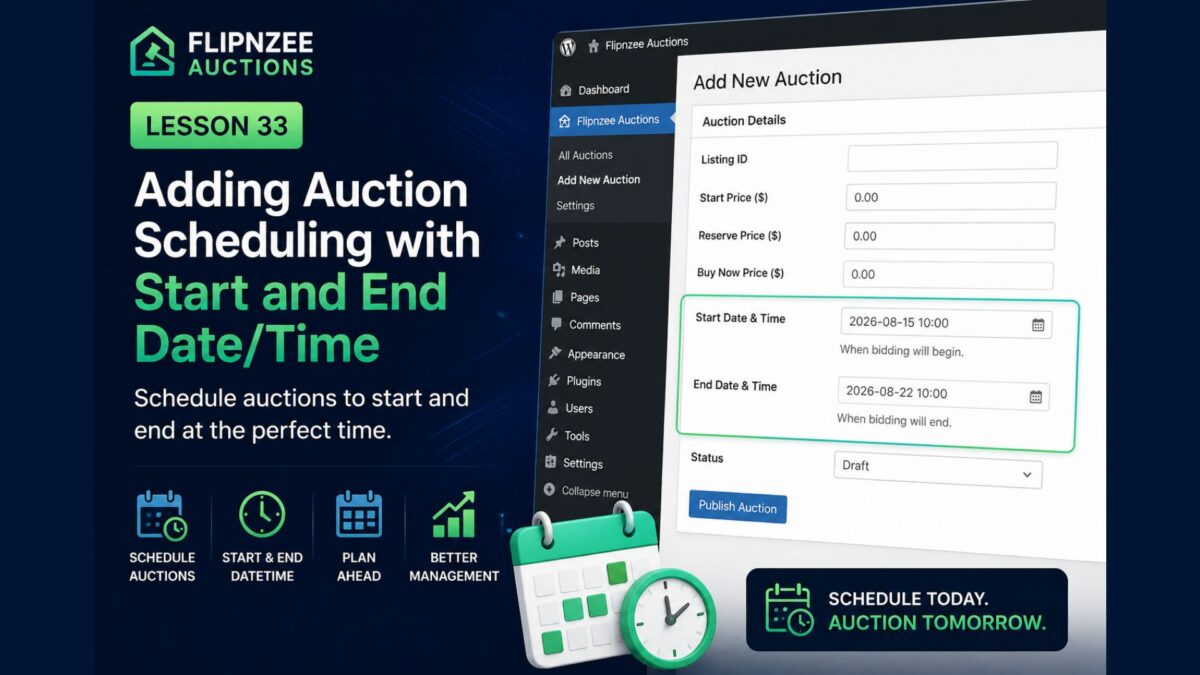
Lesson 33 – Adding Auction Scheduling with Start and End Date/Time


Series: Building the Flipnzee Auctions WordPress Plugin
Lesson: 33
Difficulty: Intermediate


Introduction

Up to this point, our Flipnzee Auctions plugin allows administrators to create, edit, search, filter, and manage auctions from the WordPress dashboard. However, every auction becomes active immediately after it is created.

In a real-world marketplace, auctions usually begin and end at specific times. Sellers may wish to schedule an auction several days in advance, while buyers expect to know exactly when bidding starts and when it closes.

In this lesson, we’ll extend our auction system by adding Start Date/Time and End Date/Time fields. These scheduling options will become the foundation for many future features, including countdown timers, automatic activation, automatic closing, winner selection, and Escrow.com integration.


What You’ll Learn

After completing this lesson, you’ll know how to:

  • Add datetime fields to the auction database.
  • Update the database schema safely.
  • Modify auction forms to support scheduling.
  • Store start and end times securely.
  • Display scheduling information in the admin table.
  • Prepare the plugin for automatic auction management.

Why Auction Scheduling Matters

Without scheduling, every auction becomes active as soon as it is created.

This creates several limitations:

  • Sellers cannot prepare future auctions.
  • Buyers do not know when bidding begins.
  • Auctions cannot close automatically.
  • Countdown timers are impossible.
  • Escrow workflows cannot be triggered automatically.

Scheduling solves all of these problems.


Real-World Example

Imagine a premium website is scheduled for auction.

Instead of starting immediately, the seller configures:

Auction Starts:
15 August 2026
10:00 AM

Auction Ends:
22 August 2026
10:00 AM

Visitors can view the auction before it starts, while bidding automatically opens at the scheduled time and closes exactly one week later.


Files We’ll Modify

During this lesson we’ll update:

includes/class-database.php
includes/class-auction-manager.php
admin/class-admin.php
admin/class-auctions-table.php

Database Changes

We’ll extend the auctions table by adding two new columns:

start_datetime

and

end_datetime

Both fields will store the auction schedule using MySQL’s DATETIME data type.


Admin Form Changes

The Add Auction screen will include two new fields:

  • Start Date & Time
  • End Date & Time

The Edit Auction screen will also allow administrators to update the auction schedule whenever necessary.


Auction List Improvements

The All Auctions table will display:

  • Start Date
  • End Date

This allows administrators to quickly see when each auction begins and ends without opening the edit screen.


Data Validation

We’ll also introduce validation rules such as:

  • End date cannot be earlier than the start date.
  • Both fields must use valid date/time values.
  • Empty schedules should be handled gracefully.

These checks help prevent invalid auction configurations.


Future Features Enabled

Although this lesson focuses only on scheduling, it lays the groundwork for several upcoming capabilities.

Upcoming lessons will build upon these fields to implement:

  • Automatic auction activation.
  • Automatic auction closing.
  • Live countdown timers.
  • Winner selection.
  • Email notifications.
  • Escrow.com transaction creation.

Expected Result

After completing this lesson, administrators will be able to:

  • Schedule auctions in advance.
  • Specify exact opening and closing times.
  • Edit auction schedules.
  • View auction schedules from the listing table.

The plugin will be one major step closer to becoming a production-ready auction platform.


Security Considerations

Throughout this lesson we’ll continue following WordPress best practices by:

  • Sanitizing all user input.
  • Validating date and time values.
  • Escaping output before displaying it.
  • Updating the database safely without affecting existing auction records.

Conclusion

Auction scheduling is one of the most important features of any professional auction platform. Rather than activating auctions immediately, administrators can now define exactly when bidding begins and when it ends.

This enhancement not only improves the user experience but also establishes the technical foundation for automation throughout the remainder of the project.

With scheduling in place, Flipnzee Auctions will be ready for features such as automatic status changes, countdown timers, winner selection, and seamless Escrow.com integration.

Lesson 33 Implementation: Adding Auction Scheduling (Start & End Date/Time)


In the Next Lesson

In Lesson 34, we’ll use the newly added scheduling fields to automatically determine the auction status. Instead of manually choosing between Draft, Active, or Closed, the plugin will calculate whether an auction is Scheduled, Active, or Ended based on the current date and time, bringing the system one step closer to a fully automated auction marketplace.

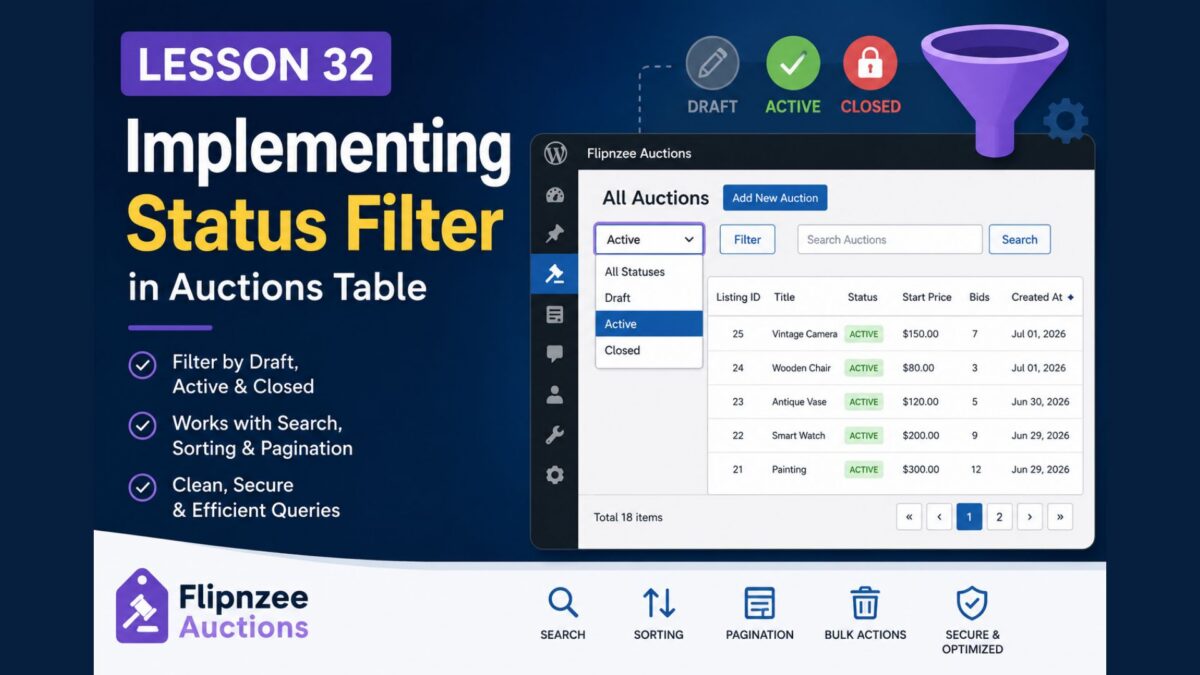
Lesson 32 — Implementing a Fully Functional Status Filter in the Auctions Table

Series: Building the Flipnzee Auctions WordPress Plugin
Lesson: 32
Difficulty: Intermediate


Introduction

In the previous lesson, we added a Status dropdown above the Auctions table. The user interface was complete, but selecting a status did not yet change the displayed records.

In this lesson, we’ll connect the status filter to the database so that it becomes fully functional. Administrators will be able to display only Draft, Active, or Closed auctions while continuing to use searching, sorting, pagination, and bulk actions.

By the end of this lesson, the Status filter will work exactly as expected in a professional WordPress administration screen.


What You’ll Learn

After completing this lesson, you’ll know how to:

  • Extend existing manager methods with additional filter parameters.
  • Build dynamic SQL queries based on optional filters.
  • Combine multiple filters within a single query.
  • Keep pagination synchronized with filtered results.
  • Preserve compatibility with searching, sorting, and bulk actions.
  • Follow WordPress database best practices.

Why Finish the Status Filter?

The previous lesson introduced the user interface, but administrators still could not actually filter auction records.

A fully functional status filter allows administrators to quickly answer questions such as:

  • Which auctions are currently active?
  • Which auctions are still drafts?
  • Which auctions have already closed?

Instead of manually browsing dozens or hundreds of records, administrators can focus on only the auctions they need.


Files We’ll Modify

During this lesson, we’ll update:

admin/class-auctions-table.php
includes/class-auction-manager.php

Implementation Overview

We’ll complete the feature in several small steps.


Step 1

Update get_all_auctions() to accept a new parameter:

$status

Step 2

Modify the SQL query so it supports four situations:

  • No search + No status
  • Search only
  • Status only
  • Search + Status

Step 3

Use prepared statements to safely build the SQL query.


Step 4

Update count_auctions() so pagination reflects only the filtered records.


Step 5

Ensure searching and status filtering work together.

Example:

Search:

Listing ID = 25

Status:

Draft

Expected result:

Only matching Draft auctions with Listing ID 25 should appear.


Step 6

Ensure sorting continues working.

After filtering:

  • Click Start Price
  • Click Created At
  • Click Listing ID

The filtered records should still sort correctly.


Step 7

Verify pagination.

When a filter reduces the number of matching auctions:

  • Page count should update automatically.
  • Only matching records should be counted.
  • Navigation should remain accurate.

Step 8

Test every possible combination.

Examples include:

SearchStatusExpected Result
NoneAllEvery auction
NoneDraftDraft auctions only
NoneActiveActive auctions only
NoneClosedClosed auctions only
Listing IDAllMatching listing
Listing IDDraftMatching Draft listing
Listing IDActiveMatching Active listing

Security Considerations

Throughout this lesson we’ll continue using WordPress security best practices.

User input should always be sanitized before use.

The implementation should continue using:

  • sanitize_text_field()
  • sanitize_key()
  • wp_unslash()
  • $wpdb->prepare()
  • $wpdb->esc_like()

No SQL values should be inserted directly into queries.


Expected Result

After completing this lesson, administrators will be able to:

  • View all auctions.
  • Filter only Draft auctions.
  • Filter only Active auctions.
  • Filter only Closed auctions.
  • Search within filtered results.
  • Sort filtered results.
  • Paginate filtered results.
  • Continue using bulk actions.

The auction management screen will now provide a much more efficient way to work with large datasets.


Conclusion

Completing the Status filter transforms it from a simple user interface element into a fully functional management tool.

Together with pagination, searching, sortable columns, and bulk actions, the Flipnzee Auctions plugin now offers an administration experience that closely resembles the native WordPress dashboard.

This lesson also demonstrates an important software engineering principle: user interface elements are only valuable when they are correctly connected to the underlying application logic.

Lesson 31 Implementation: Adding Status Filters to the Flipnzee Auctions Plugin


In the Next Lesson

We’ll extend our auction system by adding Start Date/Time and End Date/Time fields. These scheduling options will become the foundation for many future features, including countdown timers, automatic activation, automatic closing, winner selection, and Escrow.com integration.